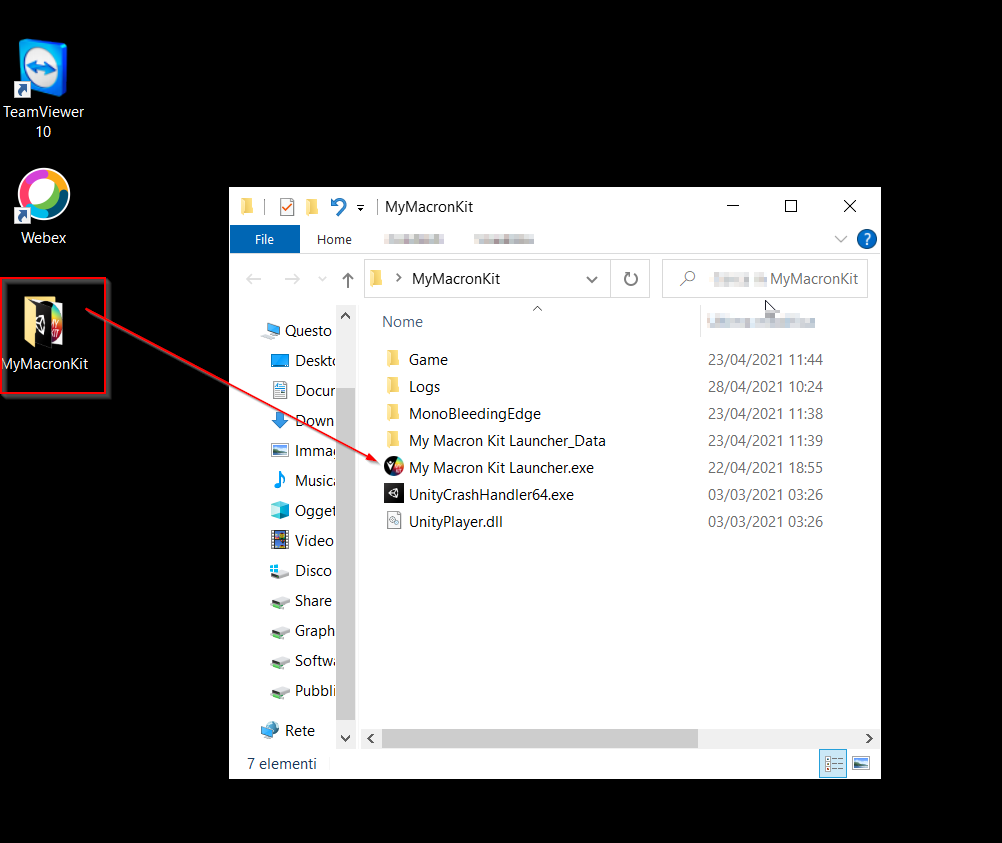
Extract the zip inside one new folder of your computer’s Desktop
Double click on My Macron Kit Launcher.exe
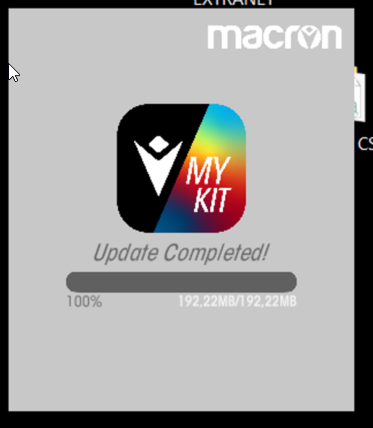
Wait until the content upload is completed. Each time it is launched, the application will automatically search for and download future updates.
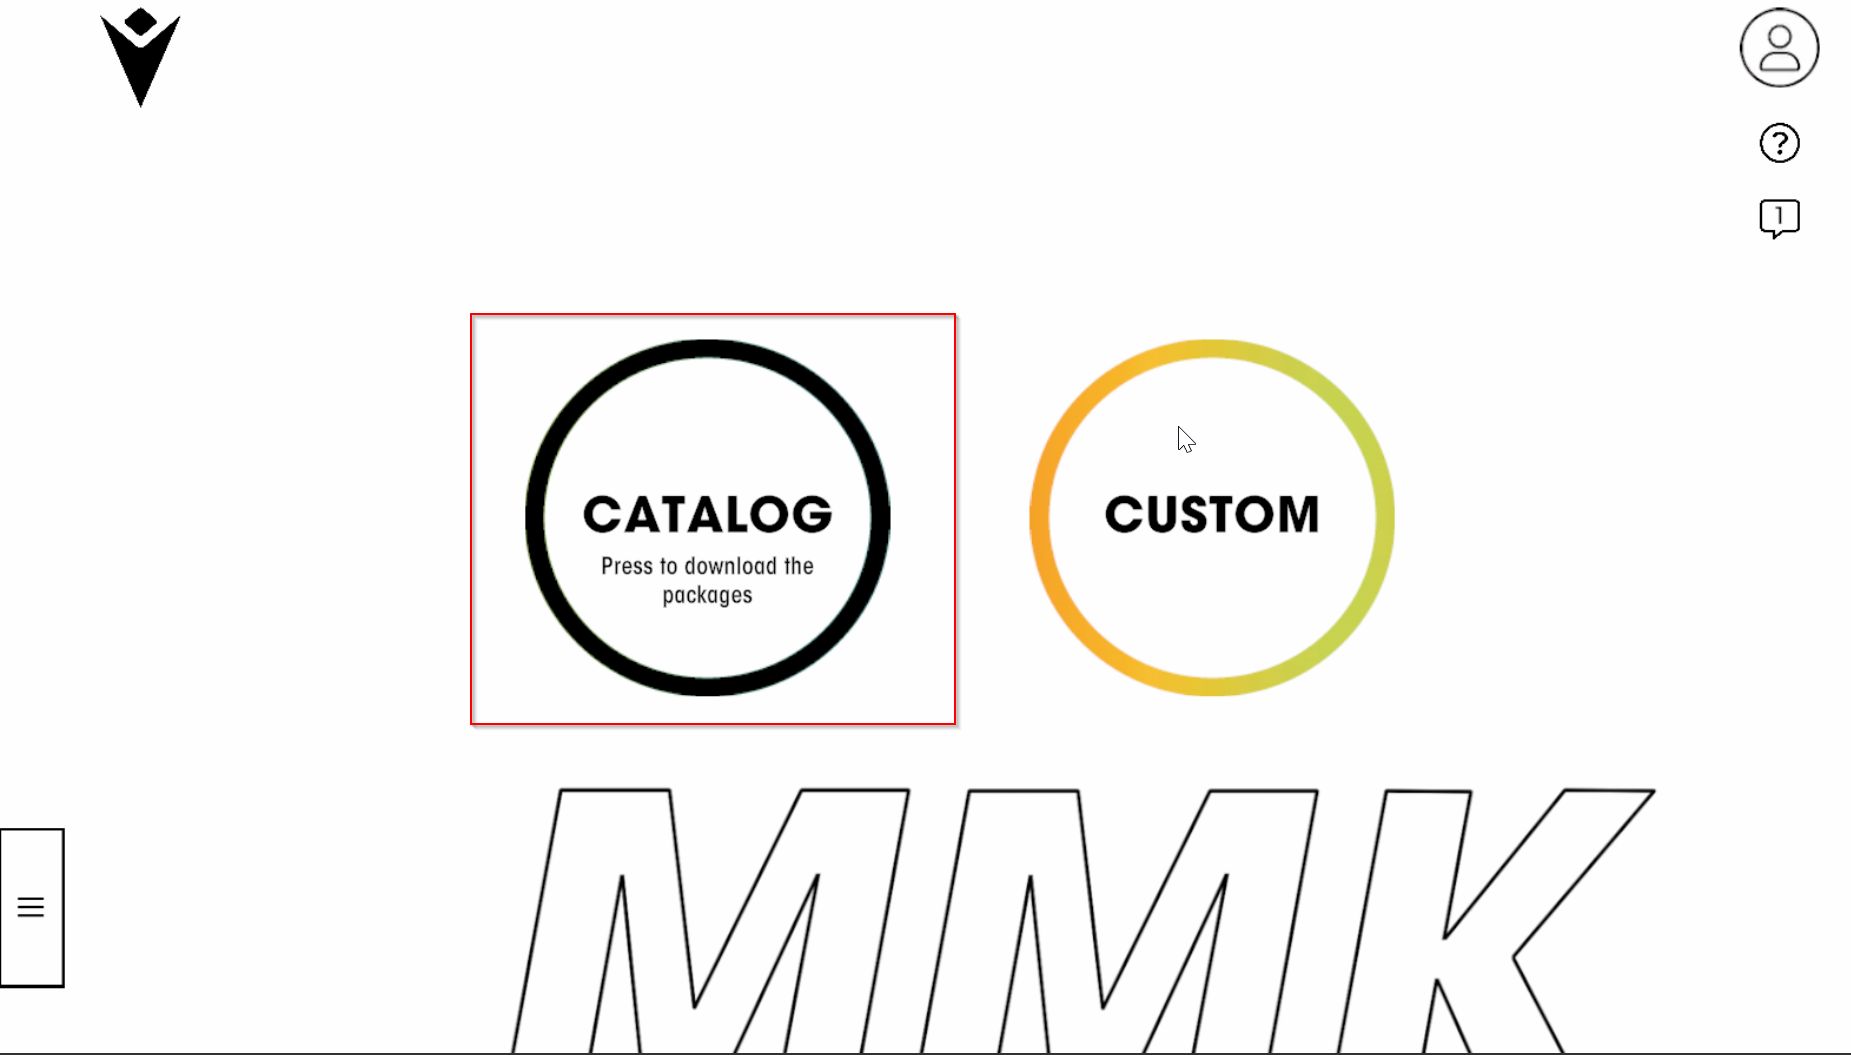
Catalogue
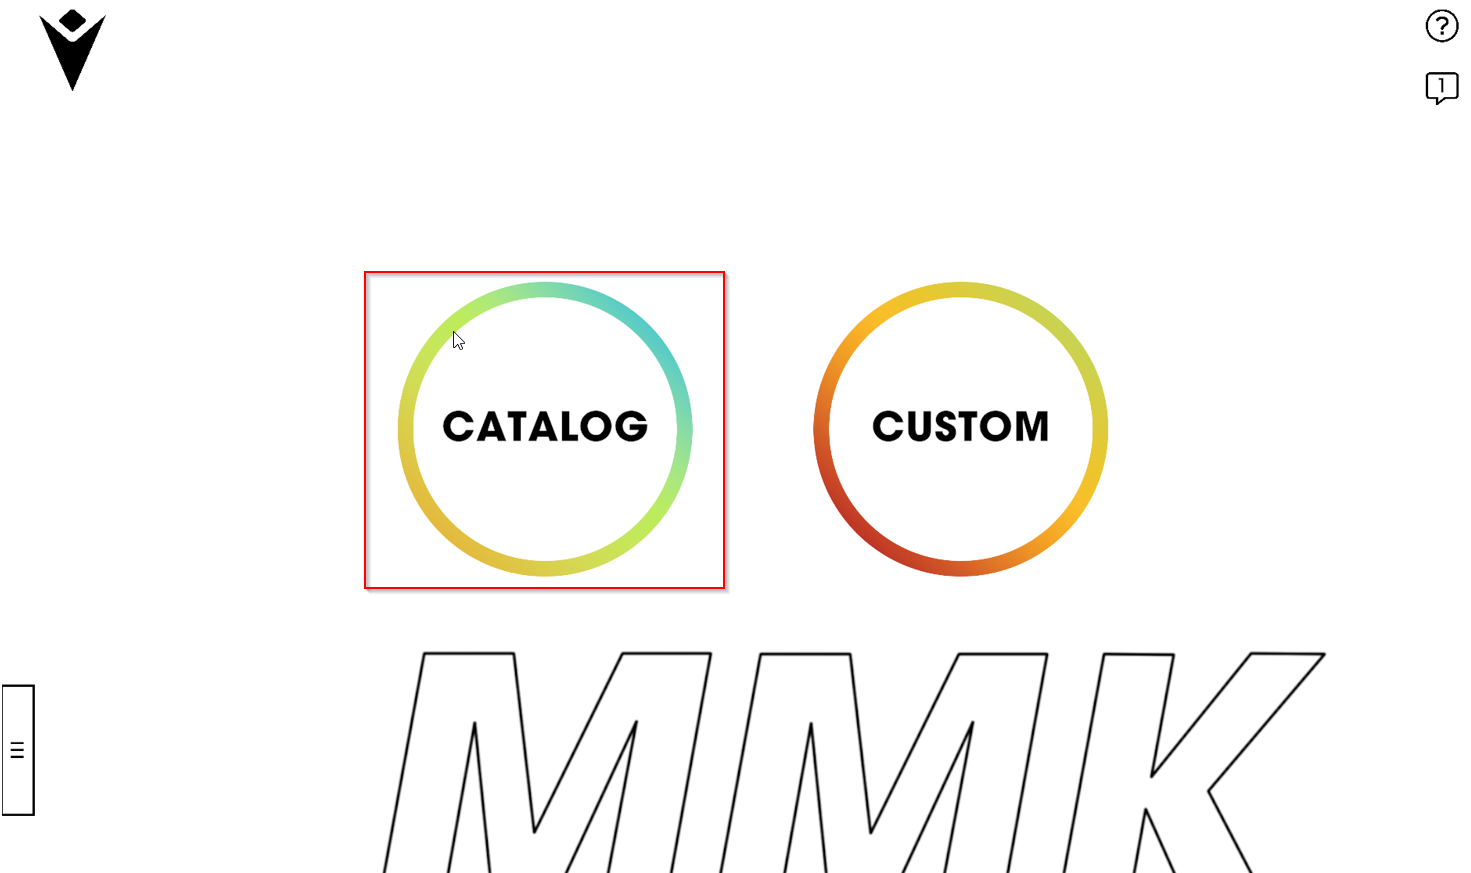
In order to create a brochure starting from Macron’s catalogue products, click on the related icon
Wait until all the graphic assets are downloaded
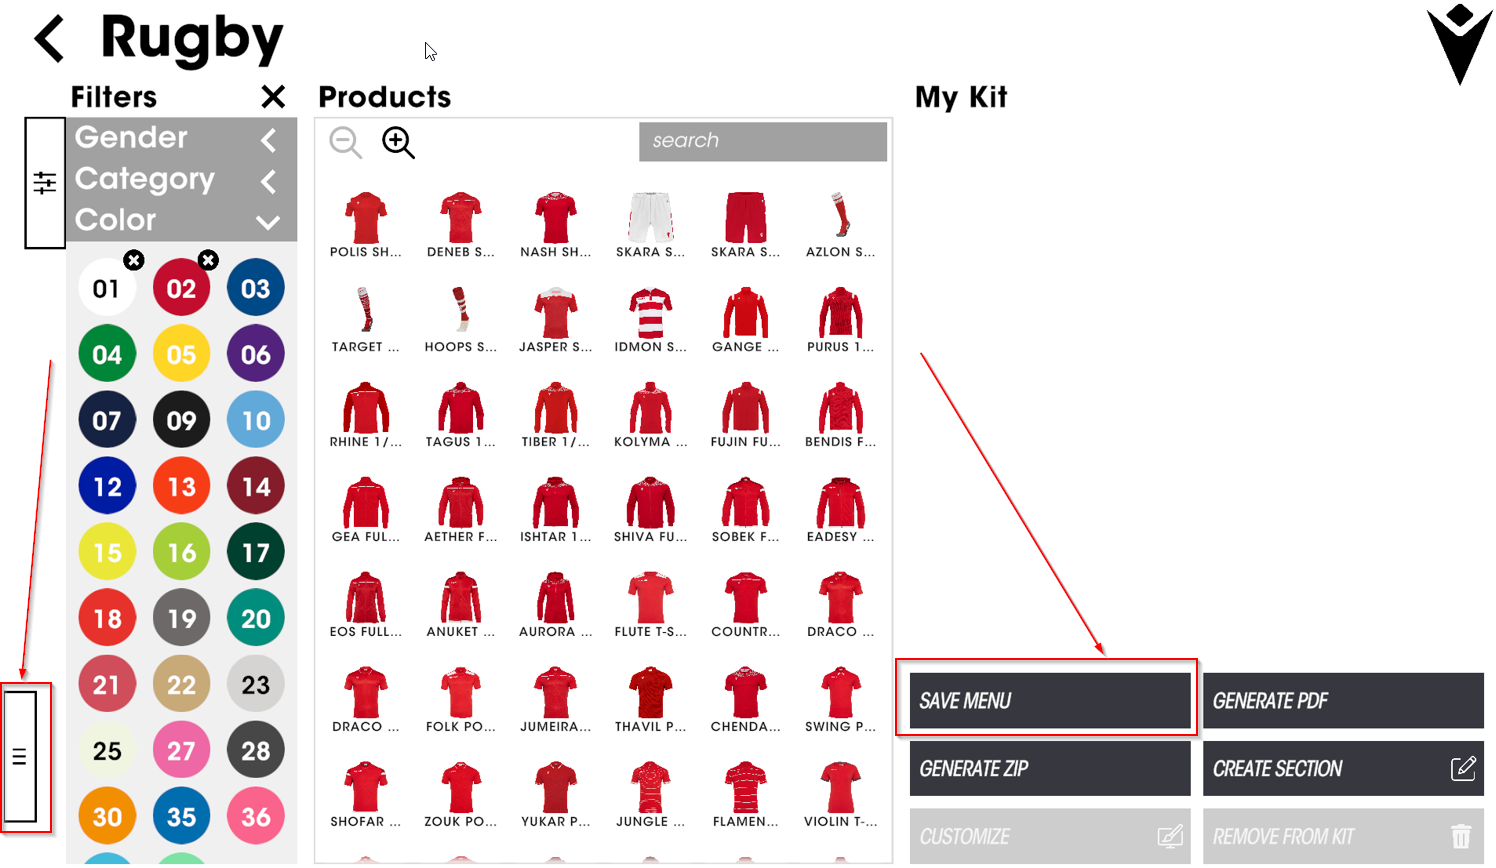
Once inside the section, you will find 3 areas:
Filters
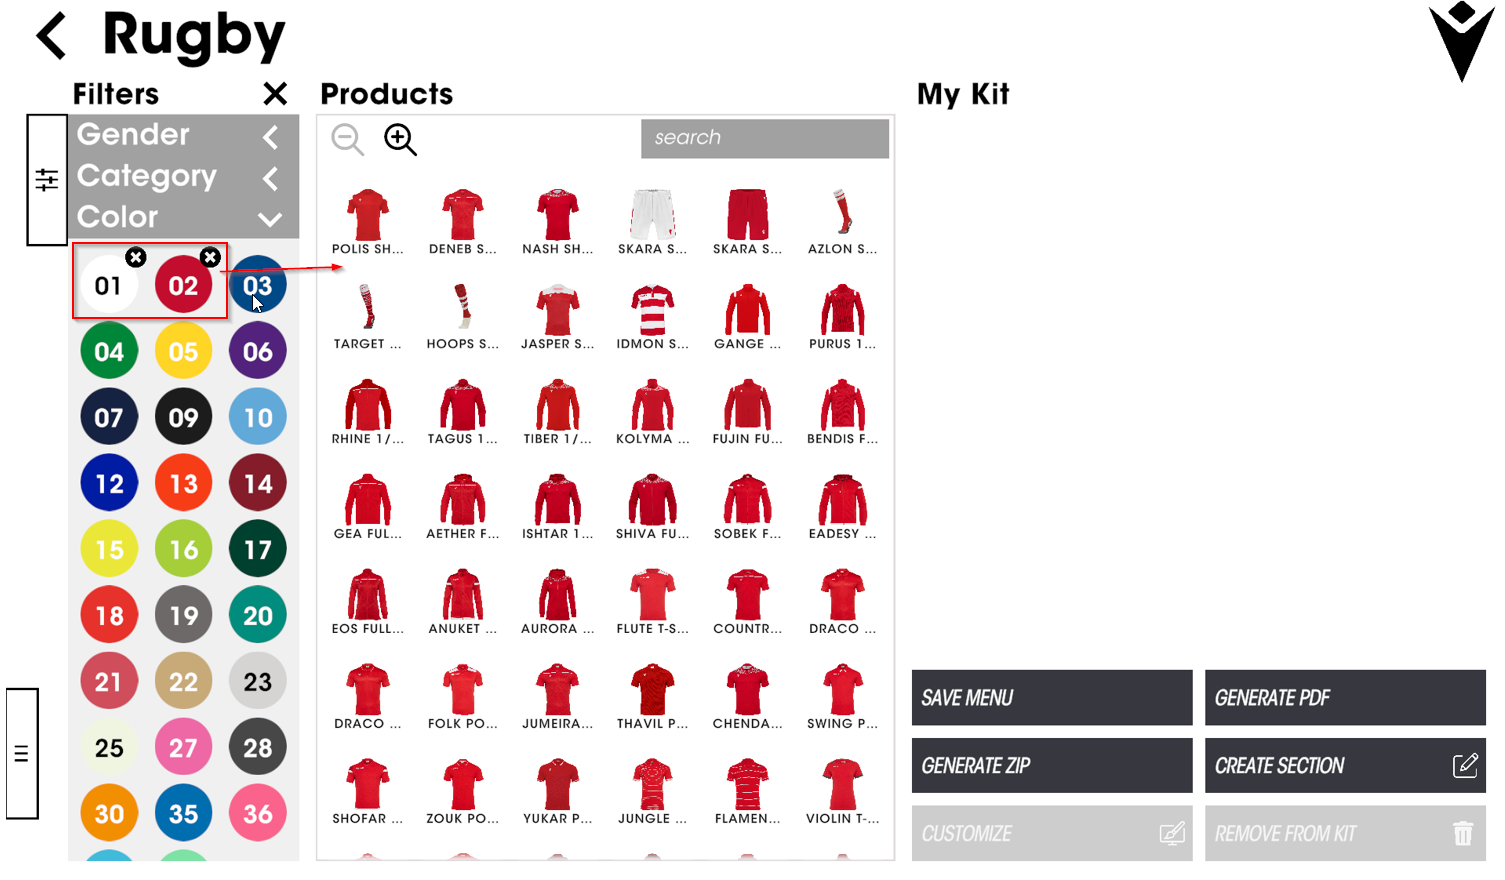
You can filter products by genre, category, colour, total look or sport (1). The filter column can also be hidden (2) allowing the central product column to gain more space.
Products list
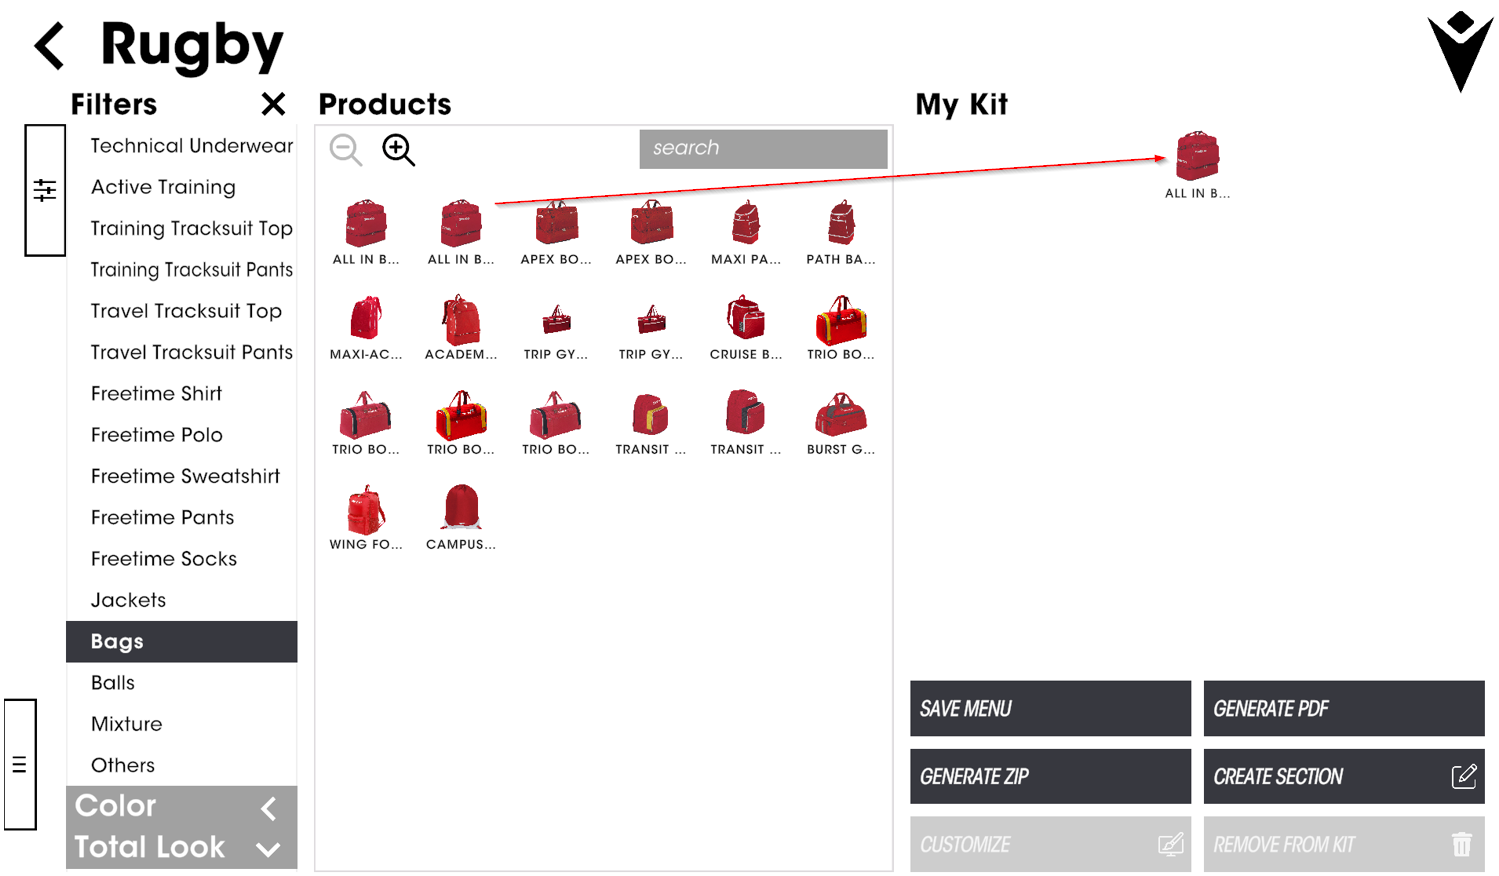
From this area, you choose the products you want to add to your brochure by clicking on them or dragging and dropping into the “My Kit” area (on the right hand side of the screen)
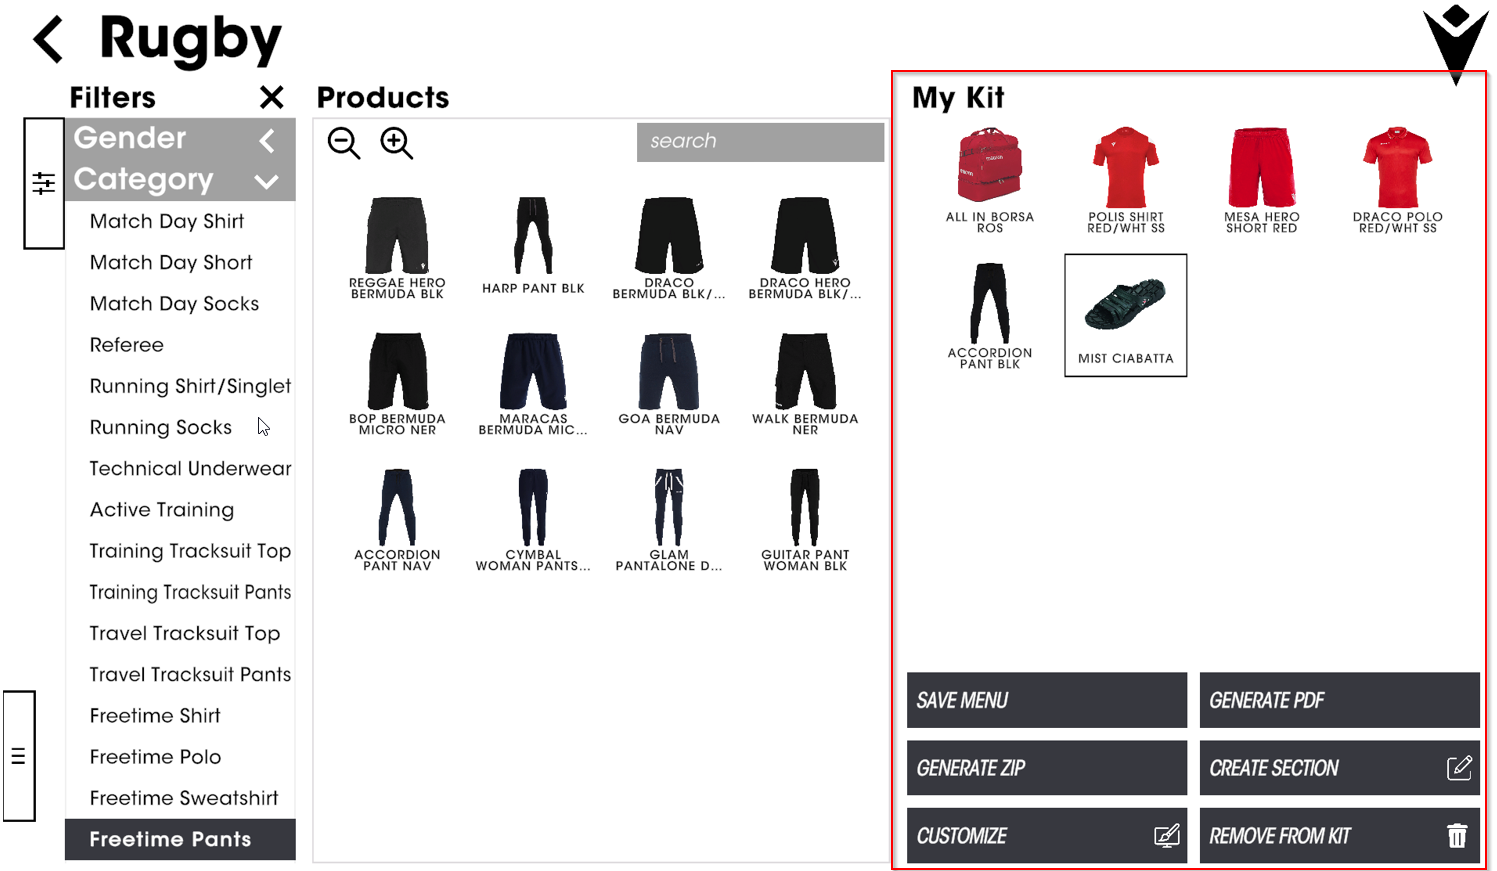
My Kit
In this area, you can organise the layout of your brochure, using the functions found below.
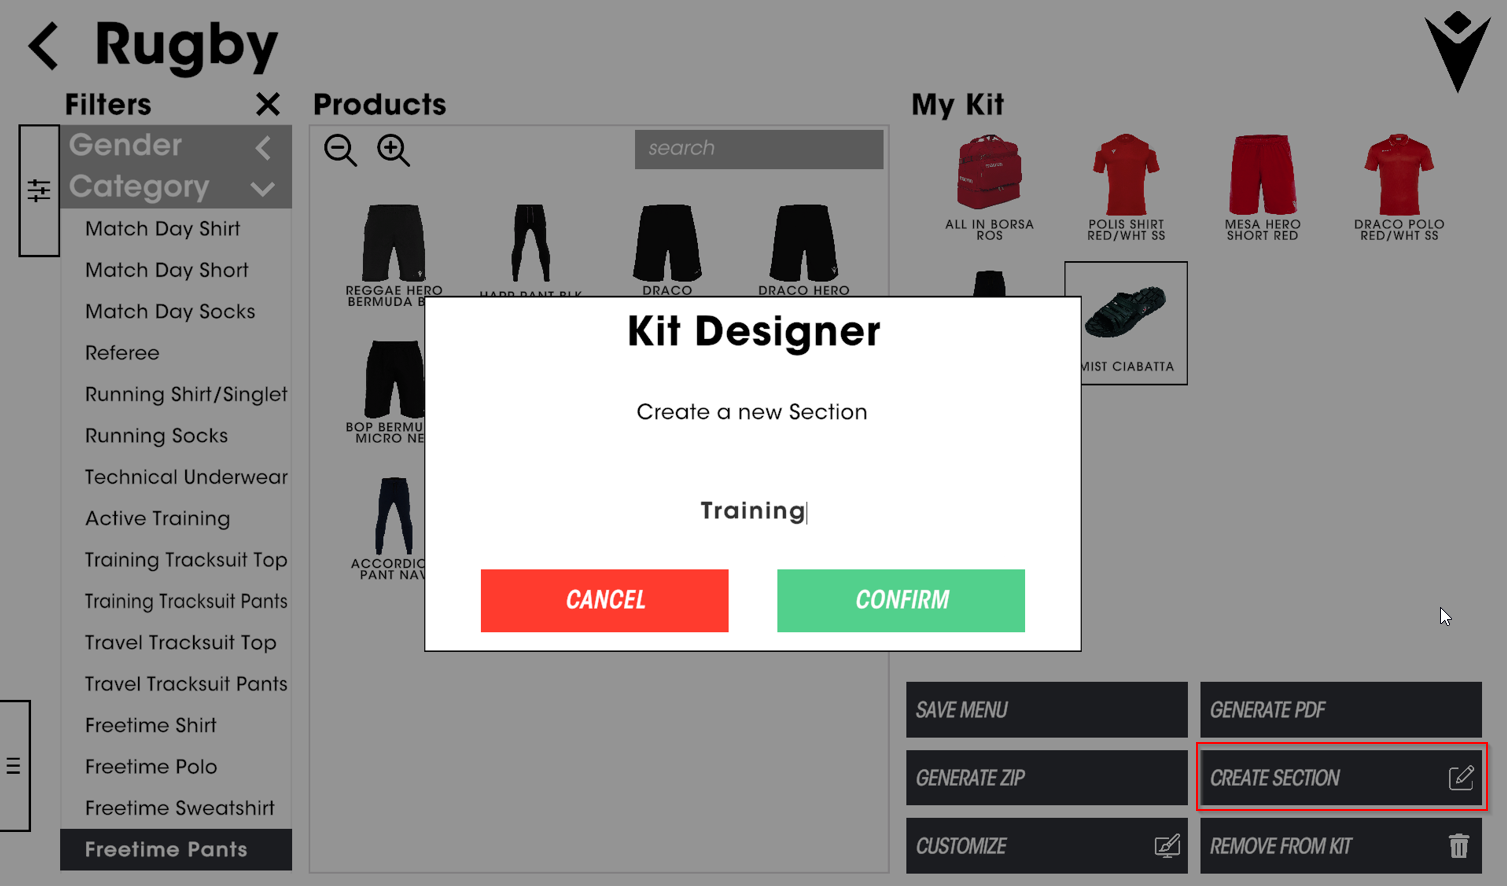
You can start organising your kit, creating sections (i.e. training, merchandising, etc.) by clicking the related icon…
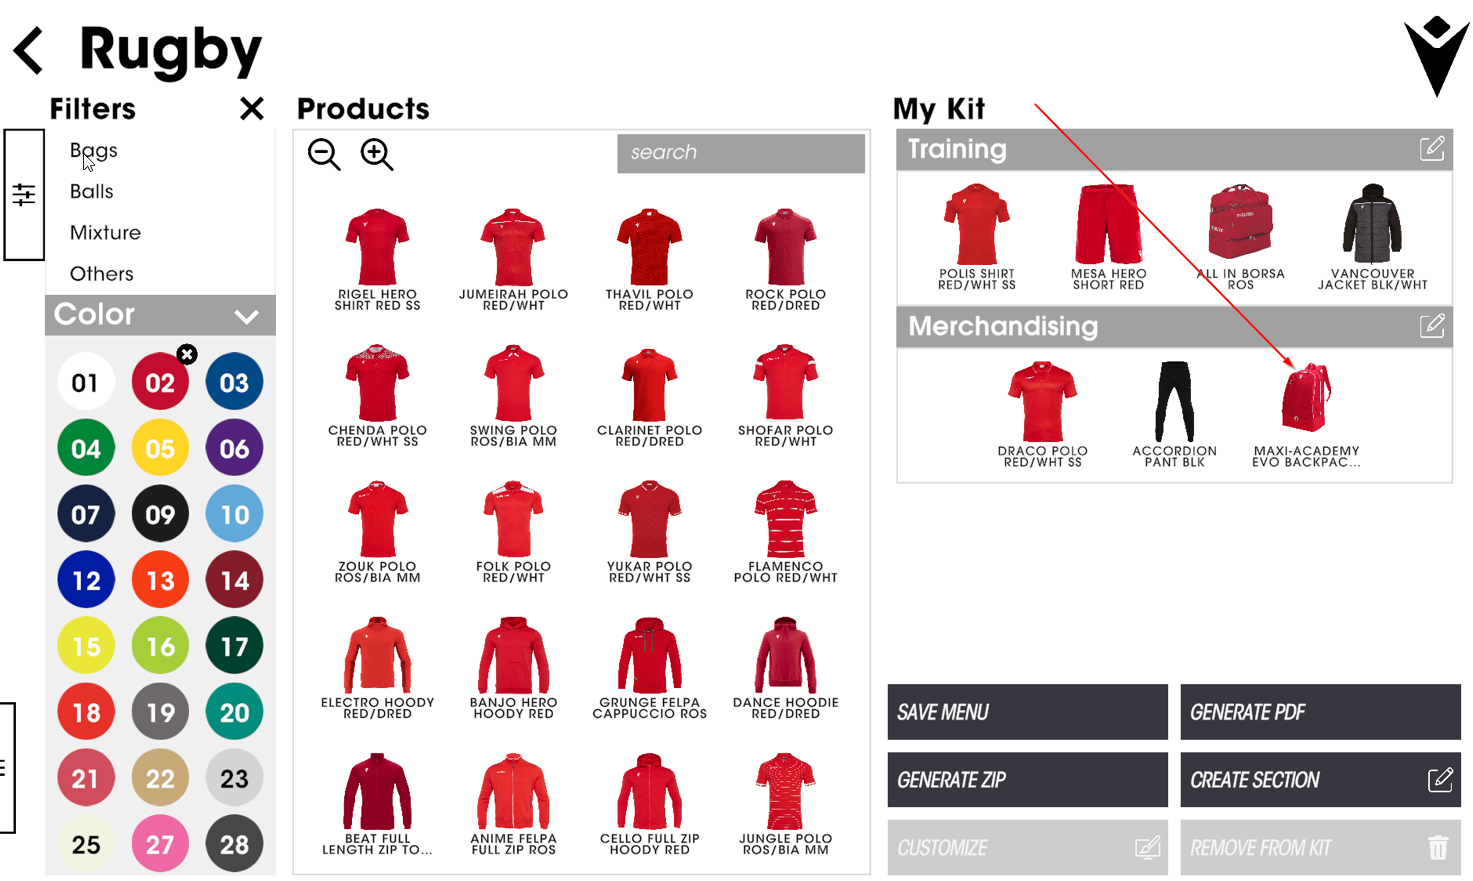
… or dragging and dropping items inside the sections
Note: You can create the sections either at the beginning or later in the process of kit creation
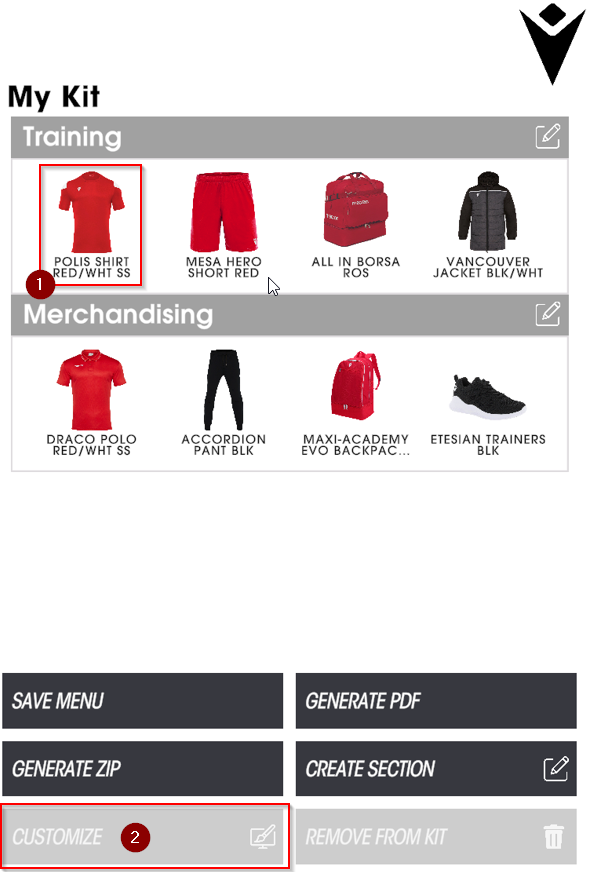
Once you’ve inserted all the products desired into the “My Kit” area, you can personalise them by selecting (1) the item and clicking the related icon (2)
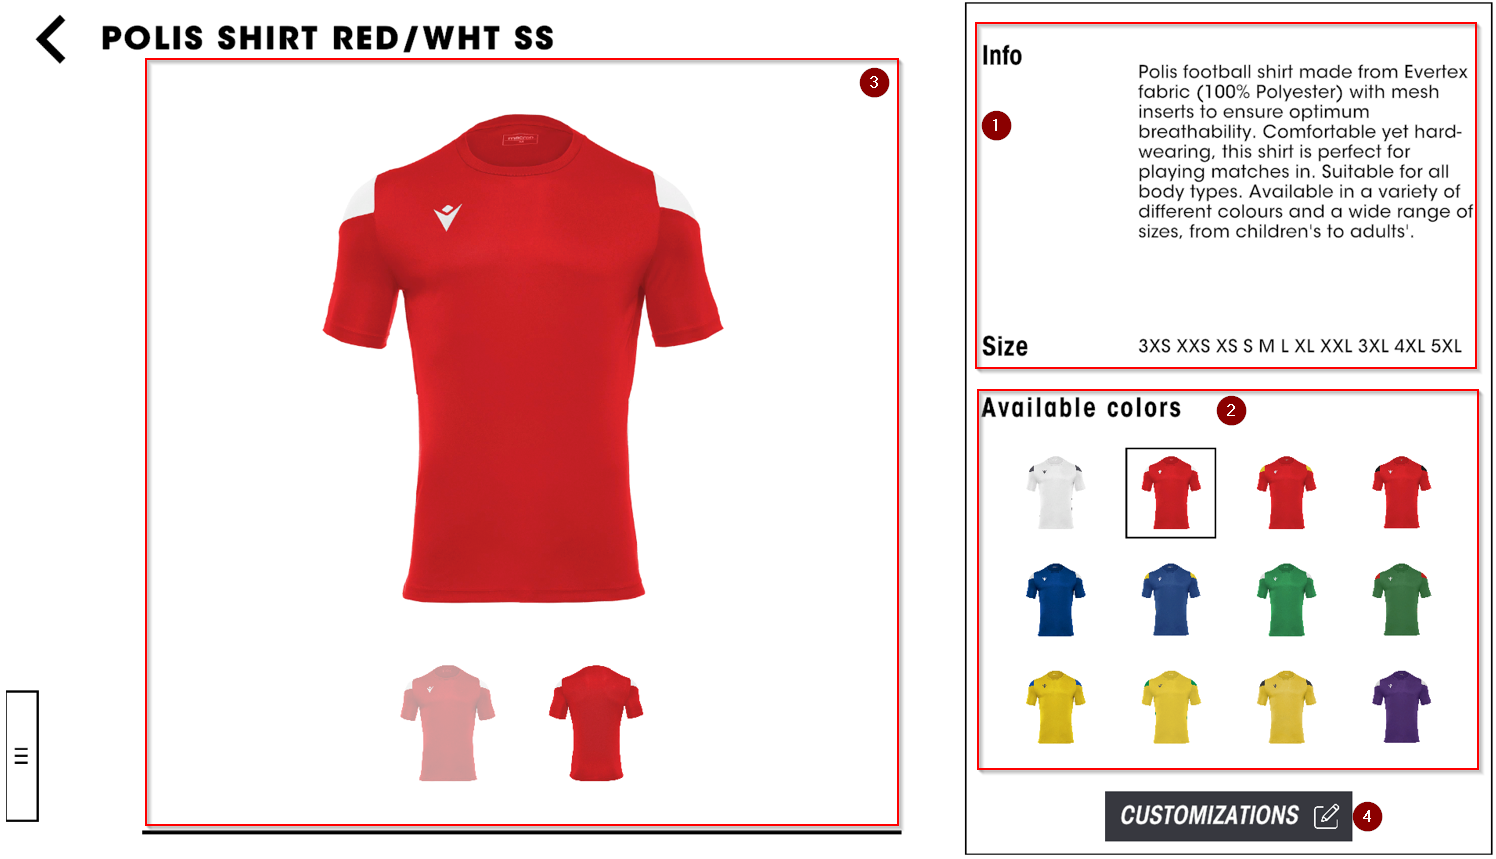
You’ll be taken to a new section where you can
Find the product description (1)
Choose a different colour for the product (2)
Preview the personalisation details of the item (3)
Upload logos and patches onto your design by clicking on the “sewing machine” icon (4)
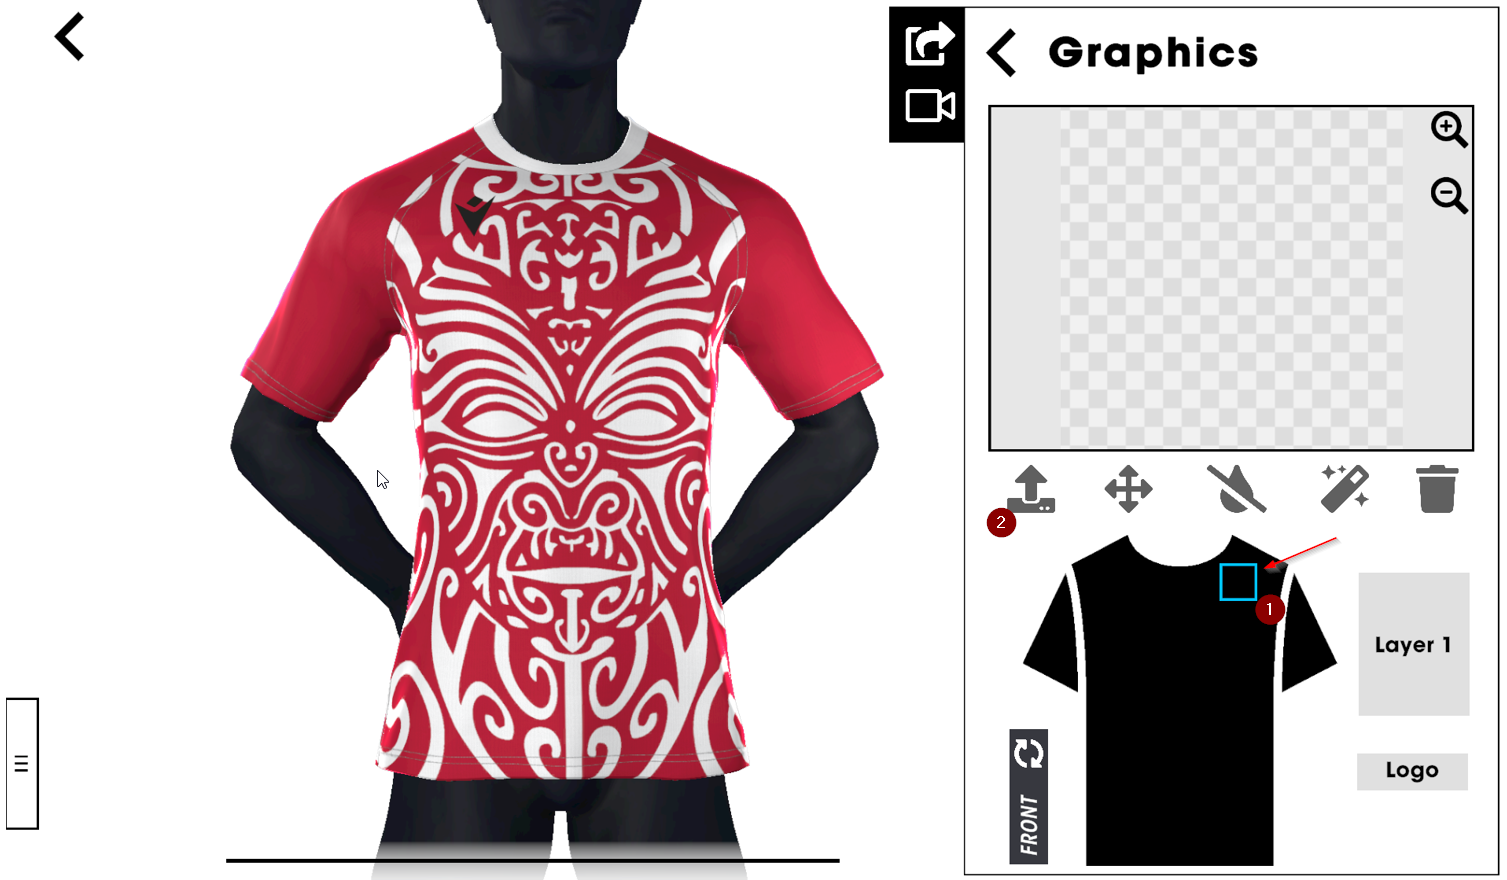
Choose the area you want to apply your patch, on the front of the item…
…or on the back
Based on the layer you want to customize, you can choose either upload a logo or apply name or number standard placeholder. To apply a logo click on the upload logo and select an image to be uploaded
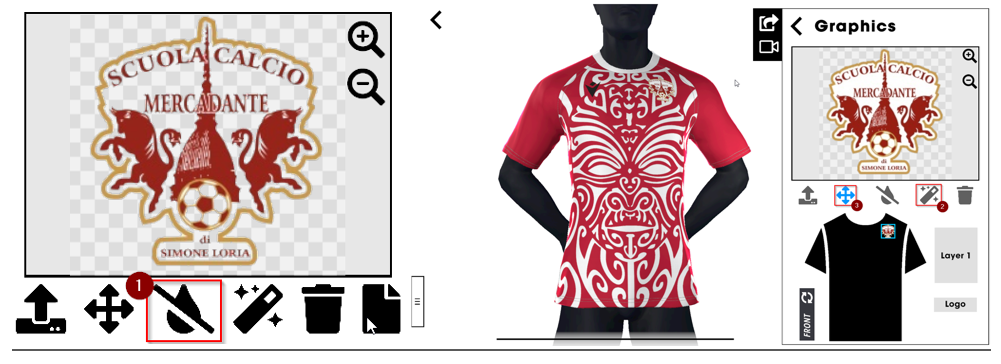
You can edit the image using some simple and useful image retouch tools:
The "Drop tool" (1) fully removes a selected colour from the image. It can be used to make a logo transparent, for example if you have an image with white background that you want to remove. Note that the more you “drag” the colour the more likely that similar colours will be affected as well.
The "Magic Wand" (2) tool removes the selected colour within an area and can be used to make certain areas transparent while retaining solid colours inside the image. Note that the more you “drag” the colour the more likely that similar colours will be affected as well.
The "Move/Resize" tool (3) allows the logo to be moved within the selected area. The tool also allows you to zoom in or zoom out the logo if needed.
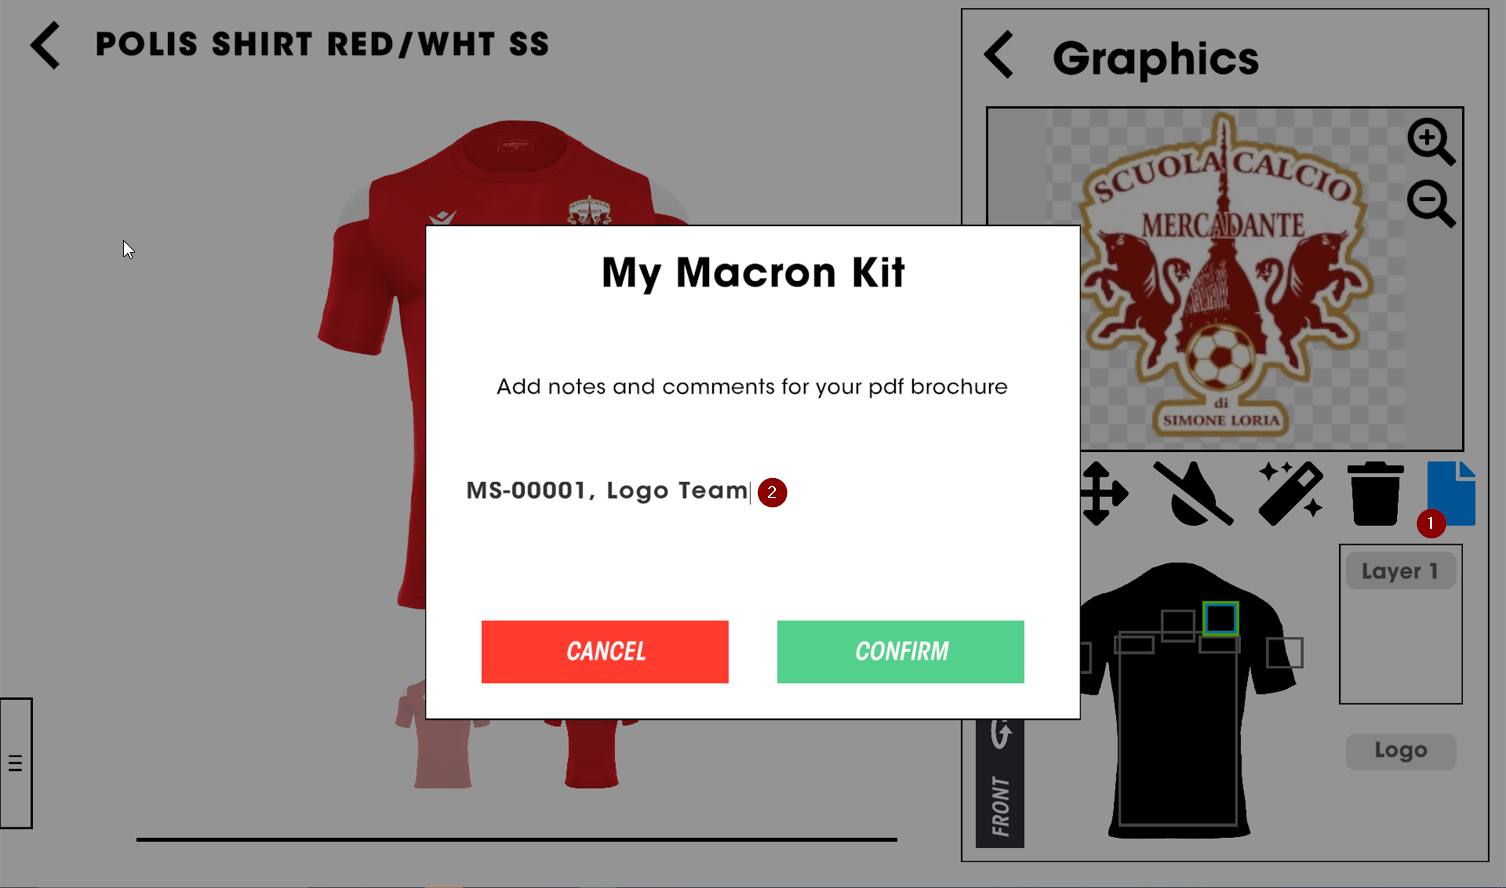
It is possible to add a note (1) for each uploaded patch: this information(2) will be shown in the summary section at the end of the brochure
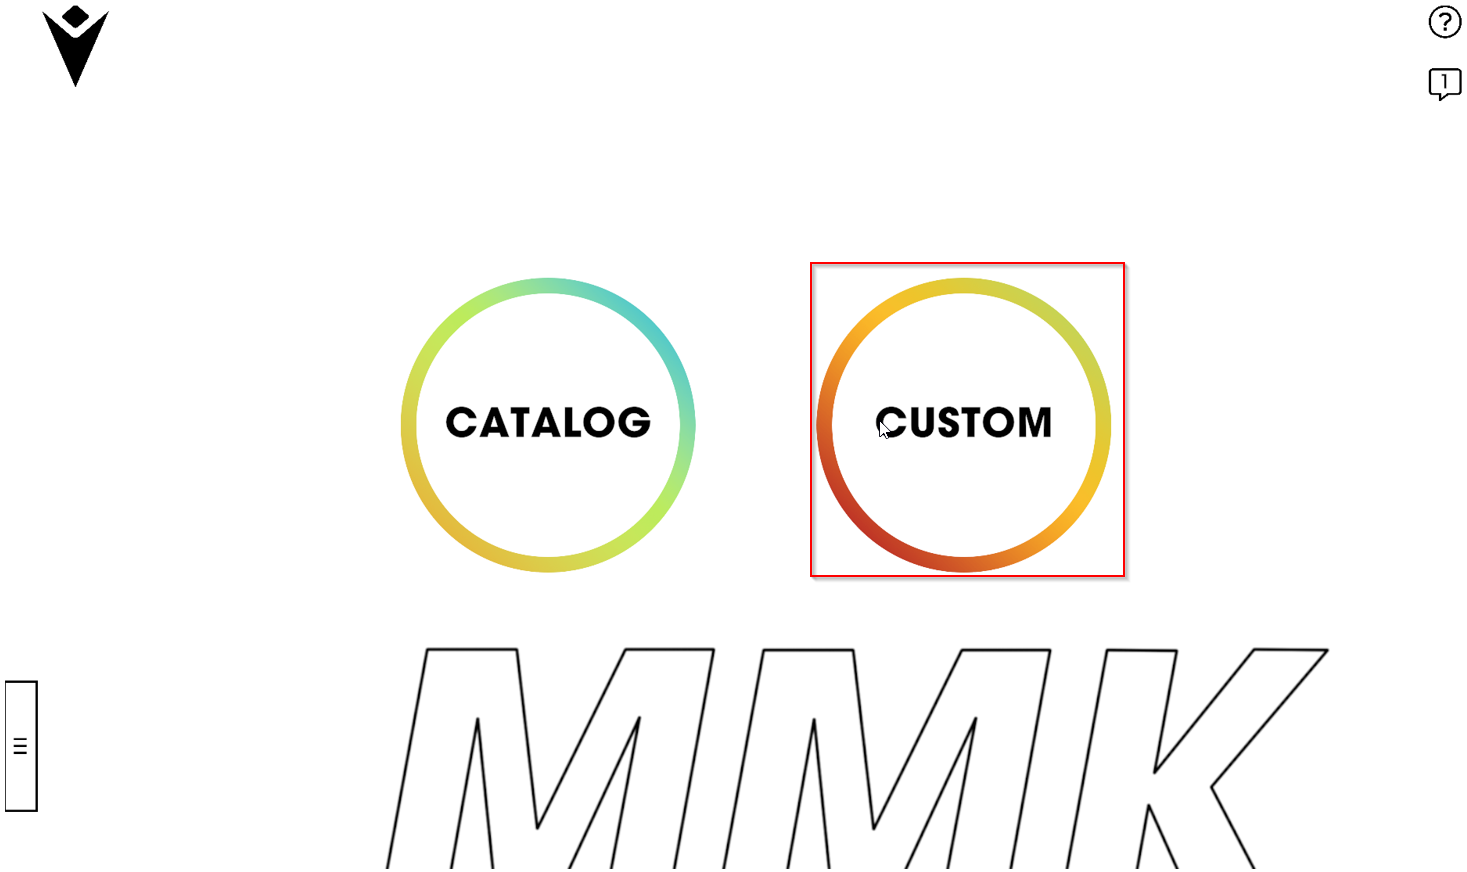
Custom
In order to create a custom design kit, click on the related icon
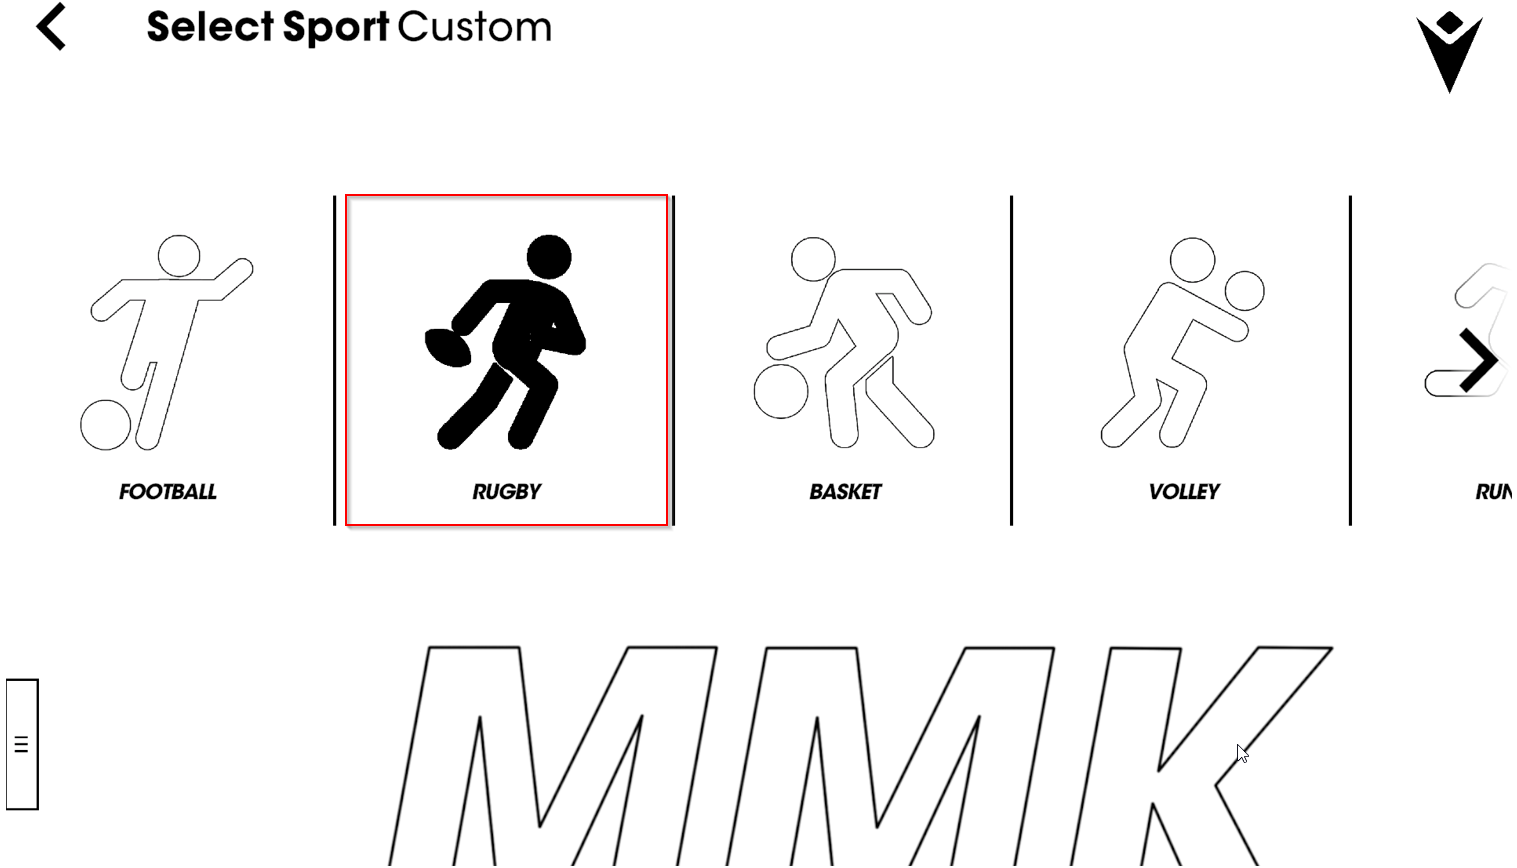
Click on the sport you are interested in and wait until all the graphic assets are downloaded (it may requires up to several minutes depending on your connection). Once complete the icon will turn dark grey and you can open by clicking on it
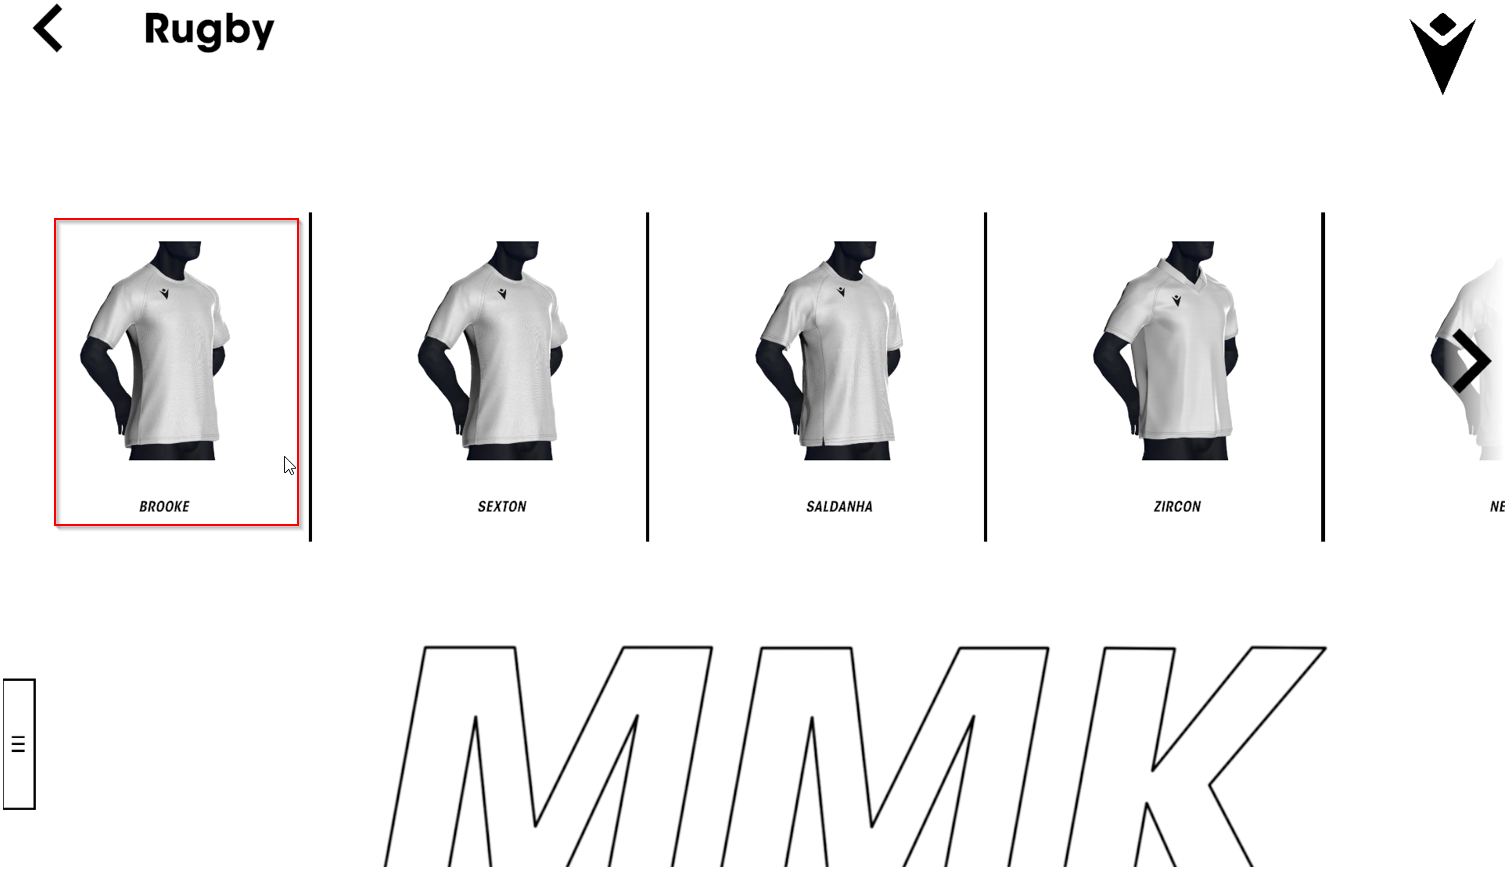
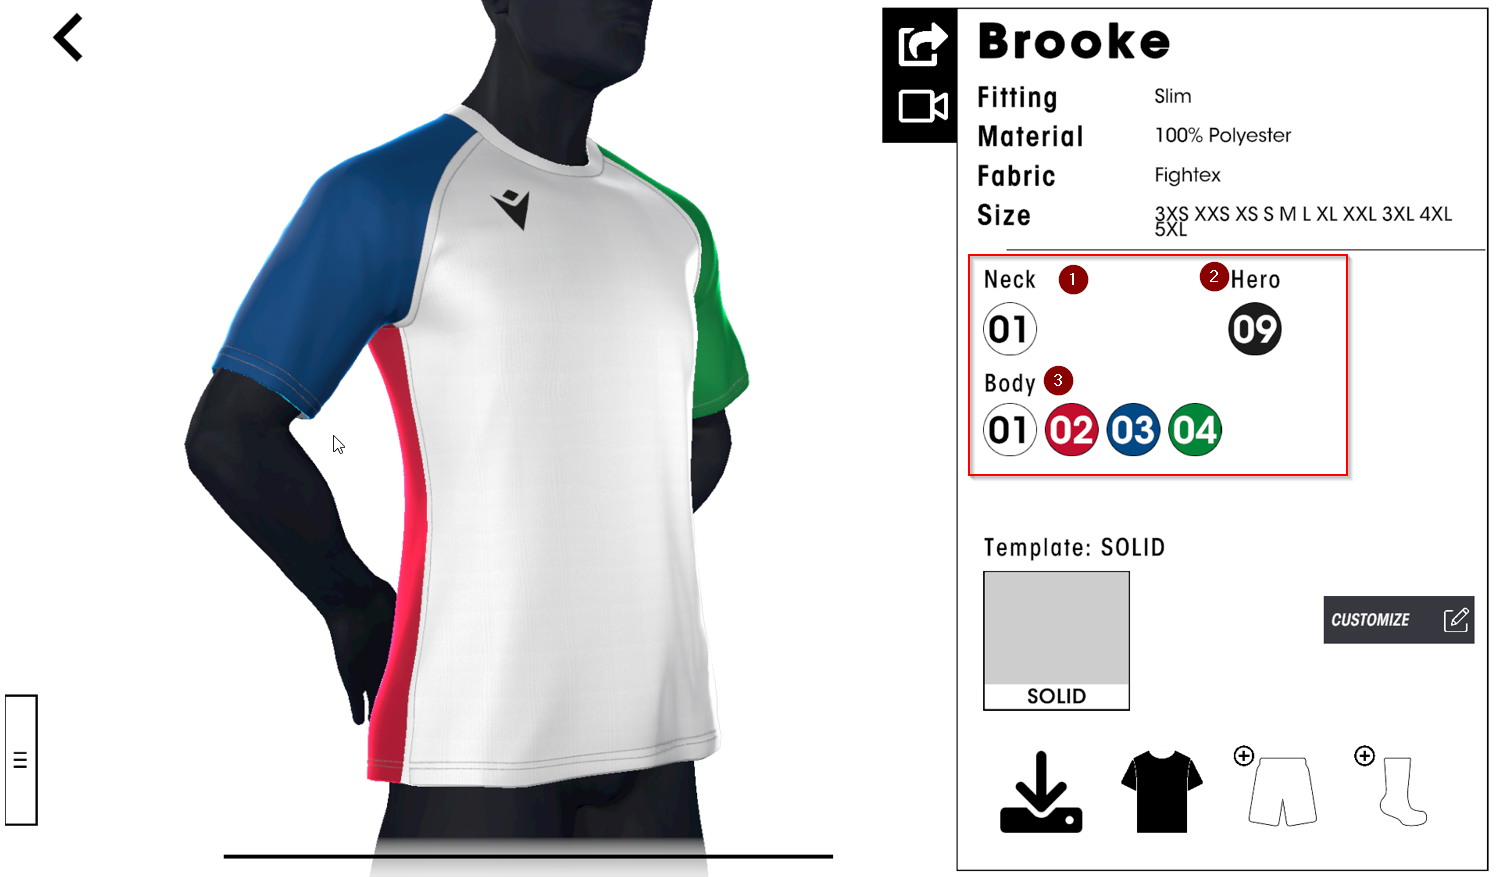
Chose the model from the list by clicking on it
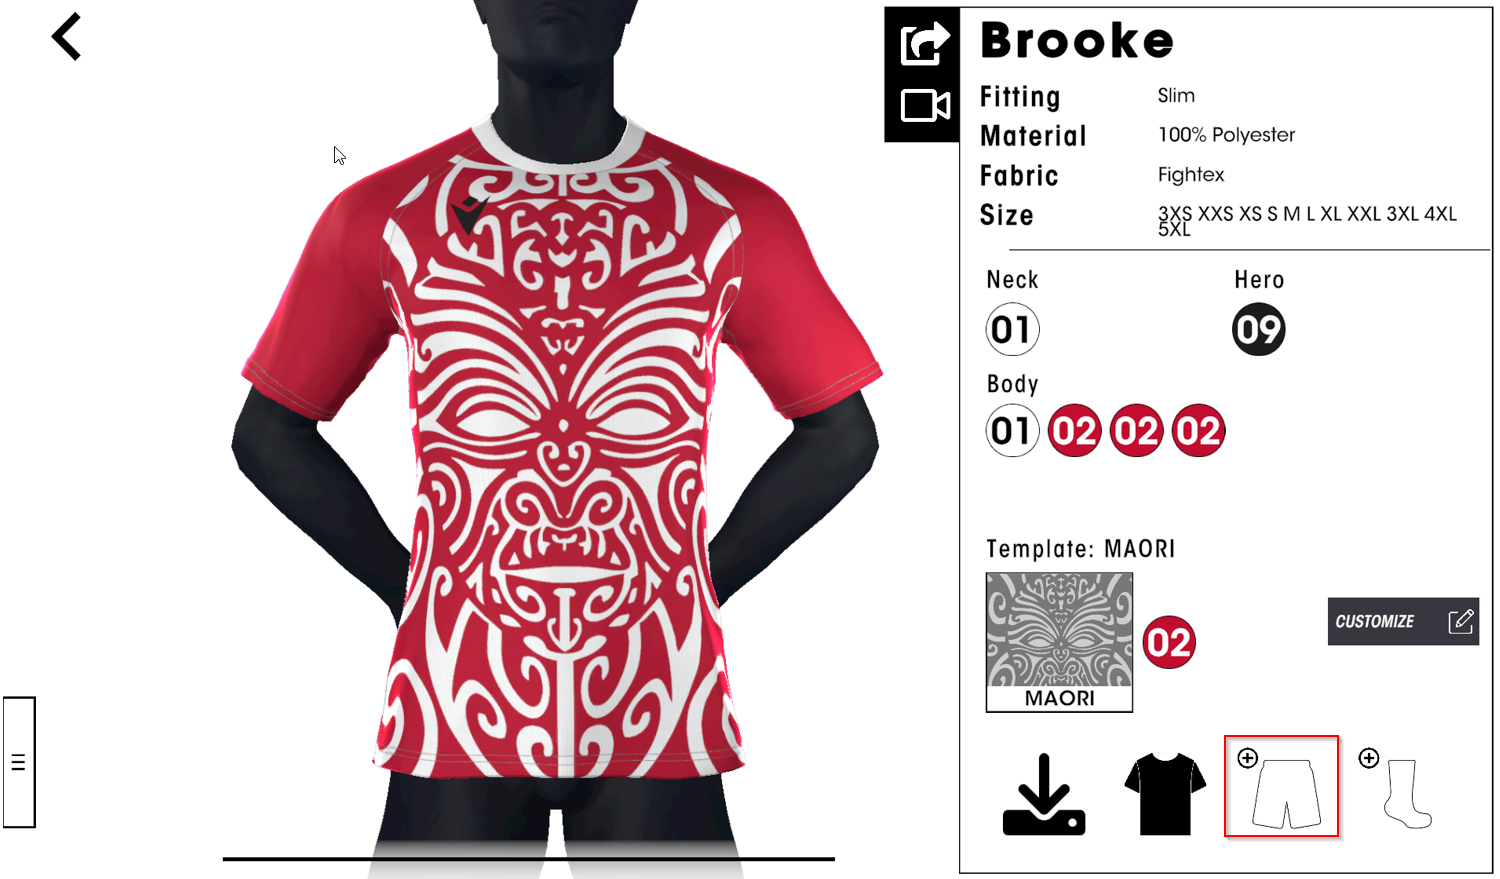
You can change the colour for each customisable part of the jersey: neck (1), body (3) and hero (2). Select the part you want to customise by clicking on it.
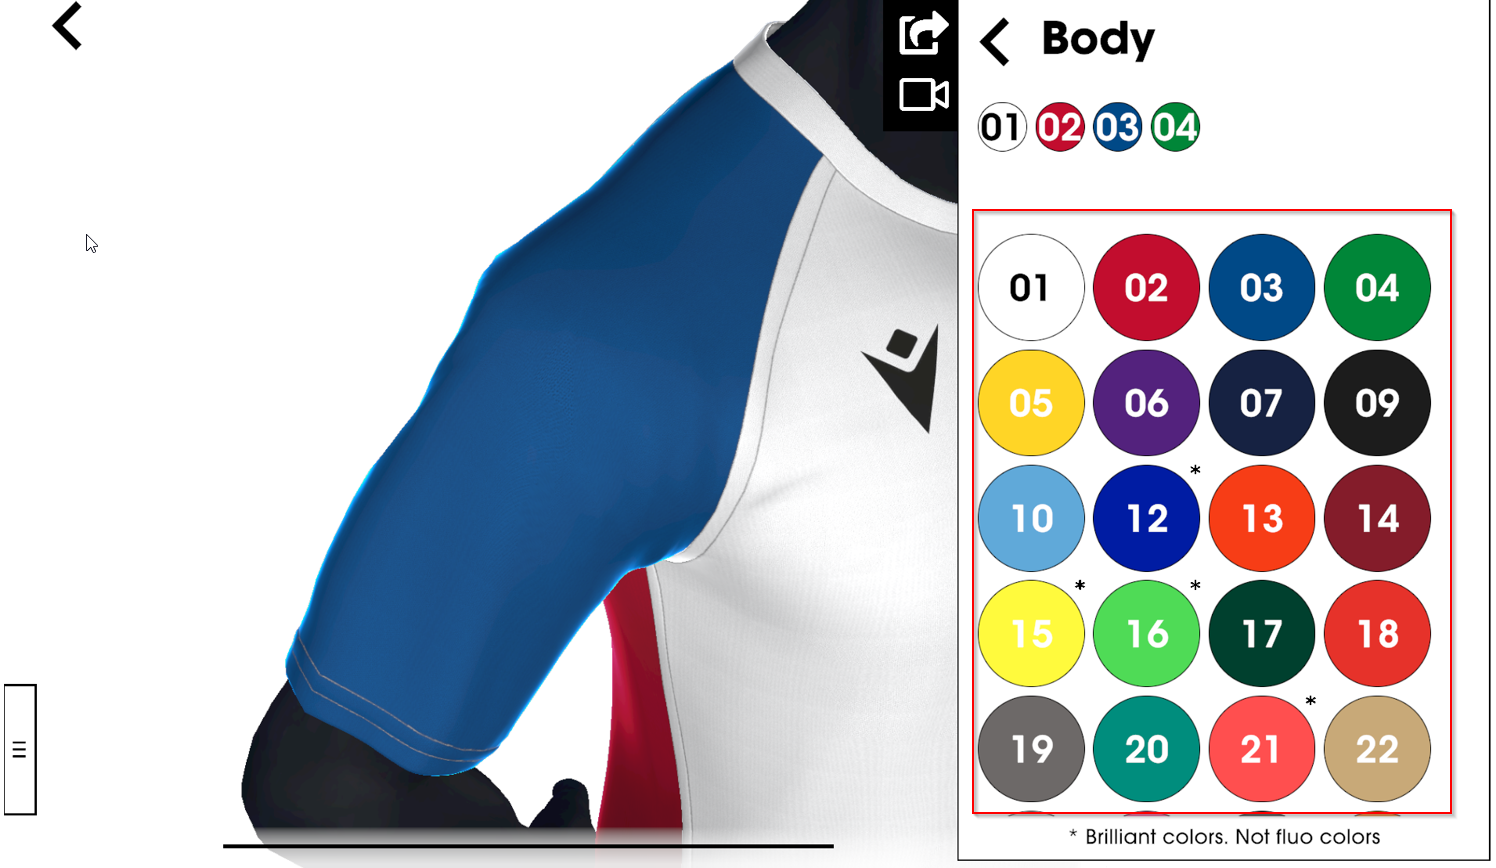
Once you have selected the part you want to customise, you will zoom in on that part and a blinking light will identify and highlight the selected area. You can then choose the colour you prefer from the palette available.
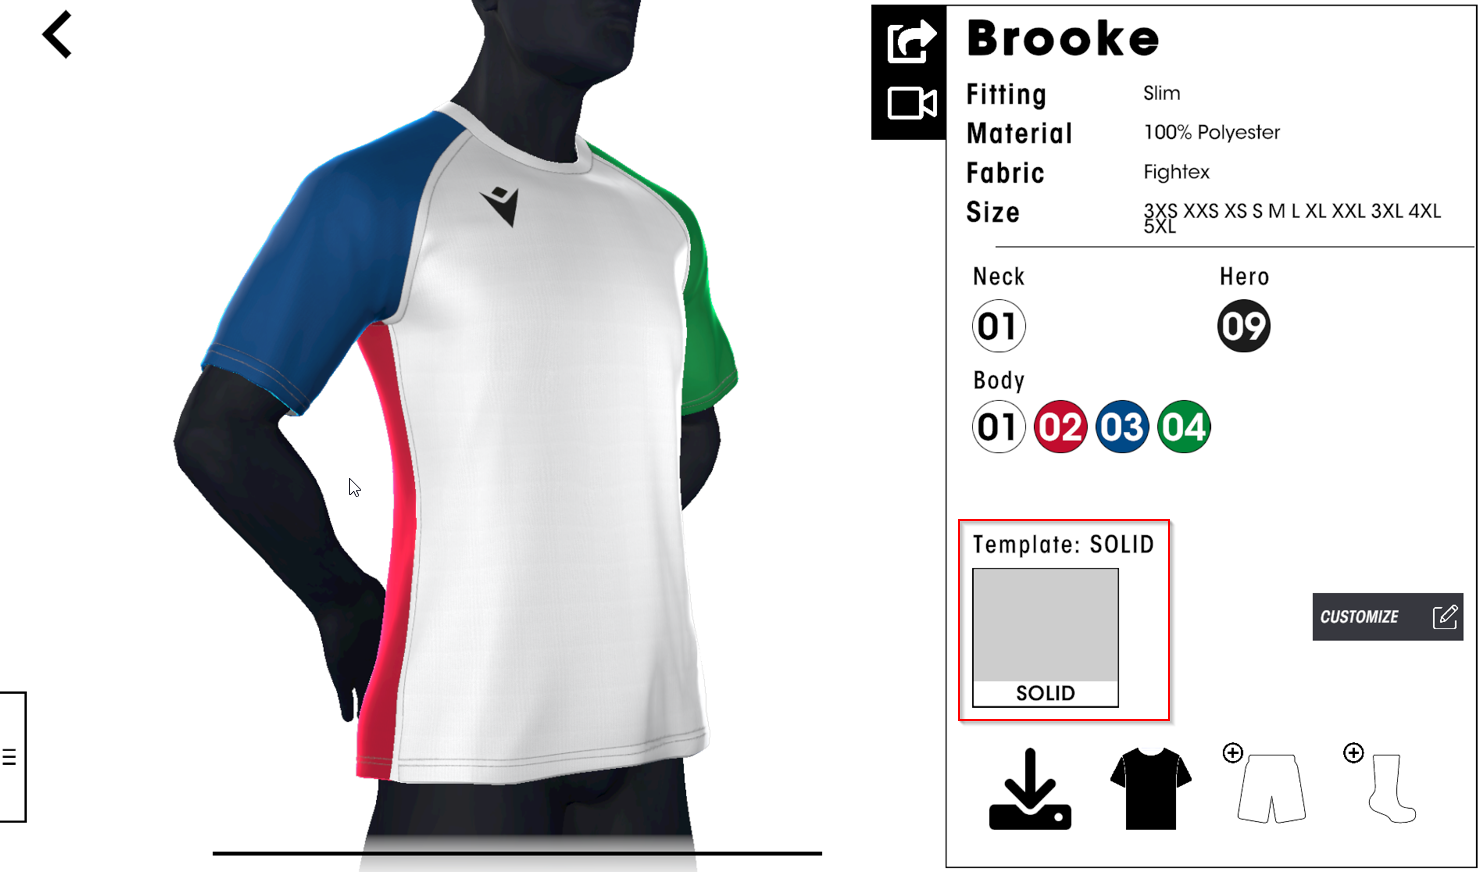
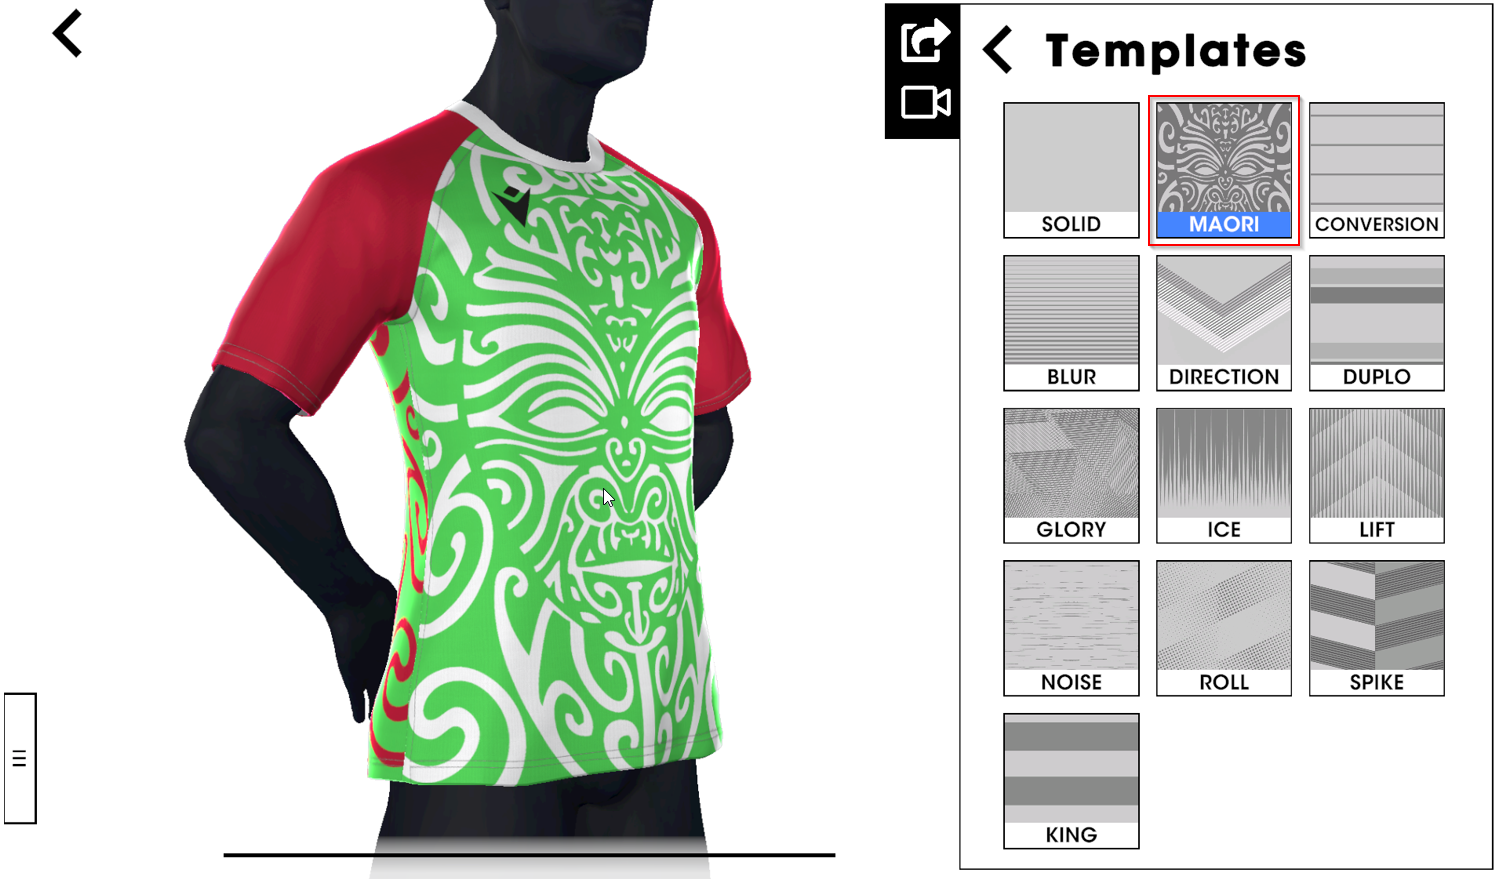
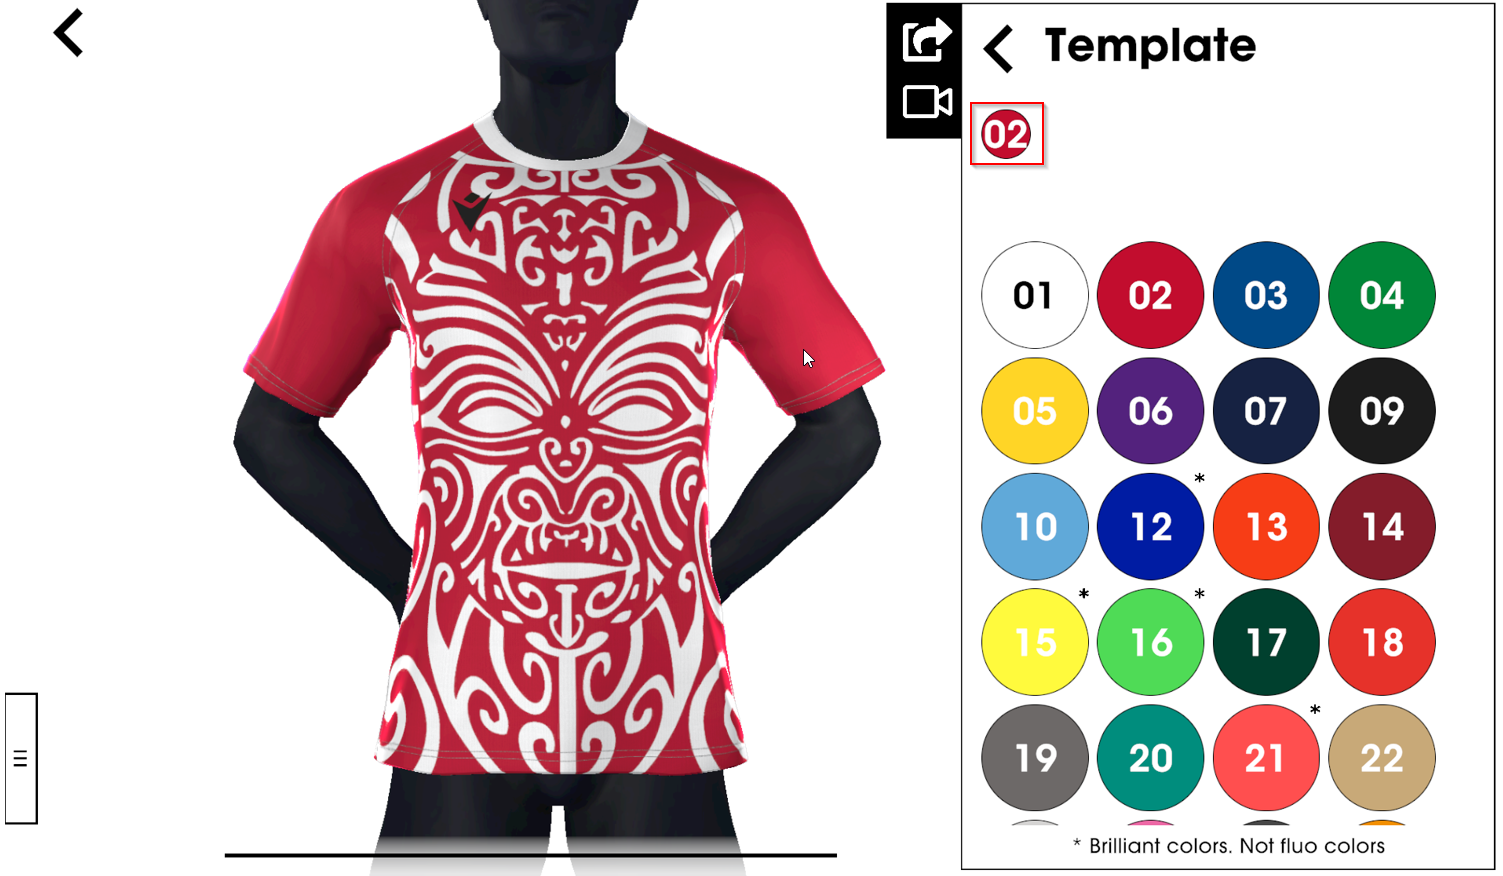
You can also apply a design template by clicking on the “Template” section
You can choose colours for your template
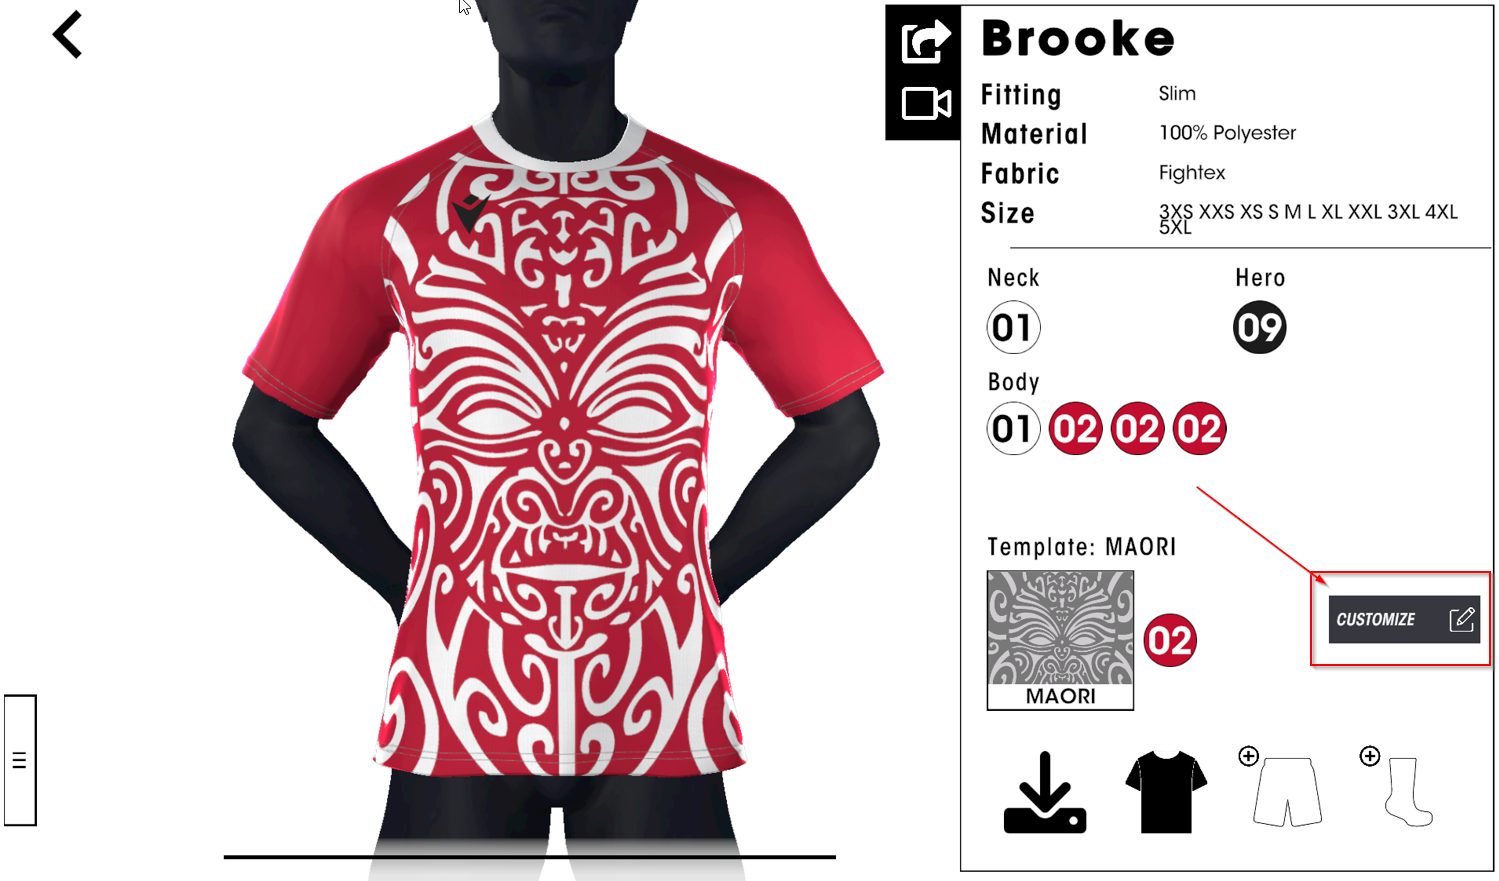
Once you have finished choosing colours and templates, you can upload logos onto the design by clicking on the “Customize” icon
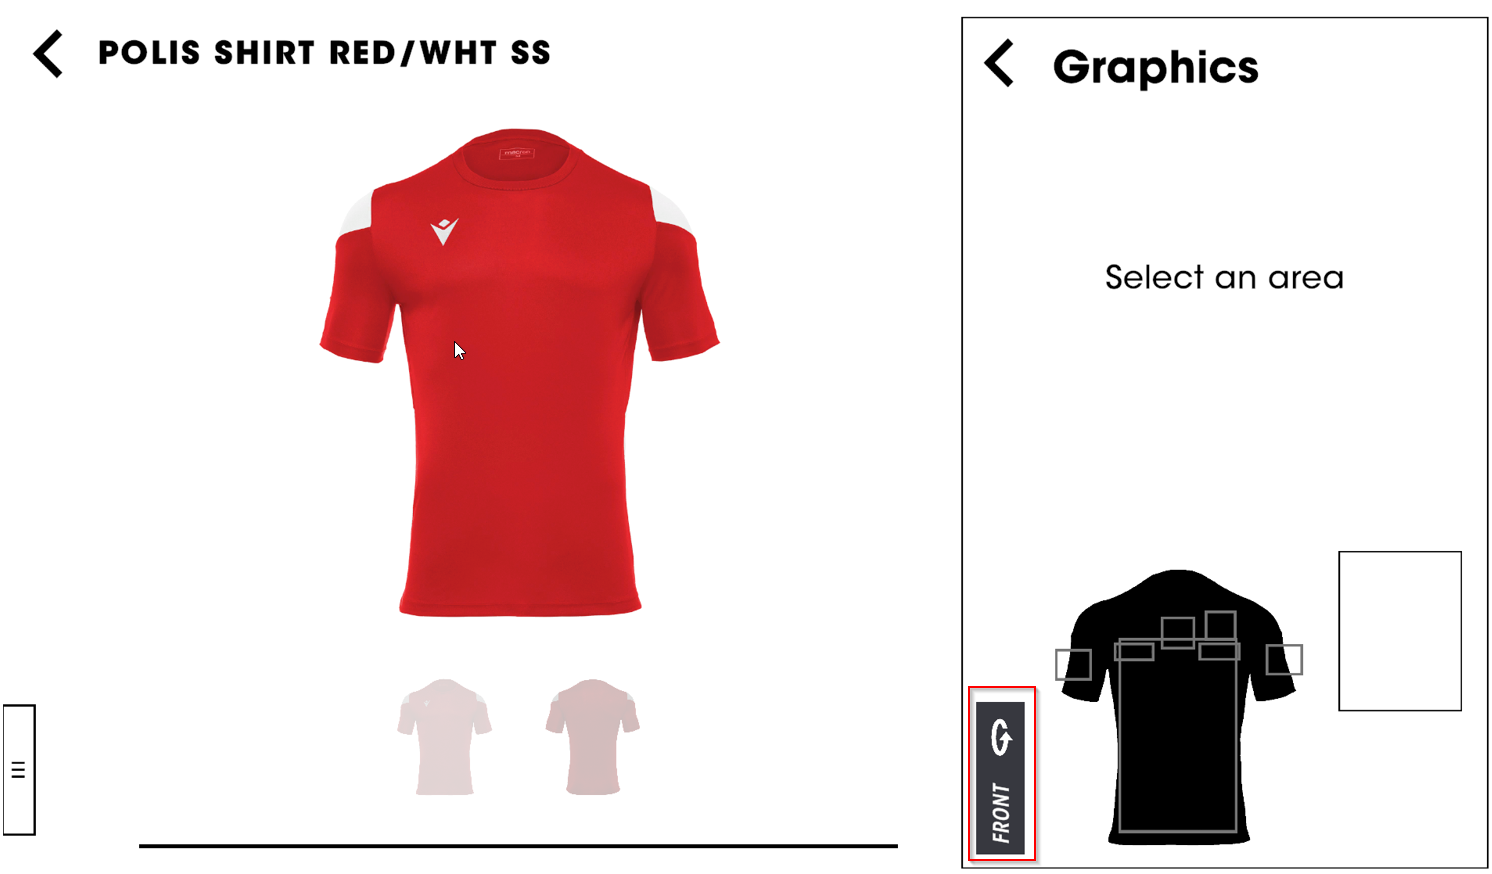
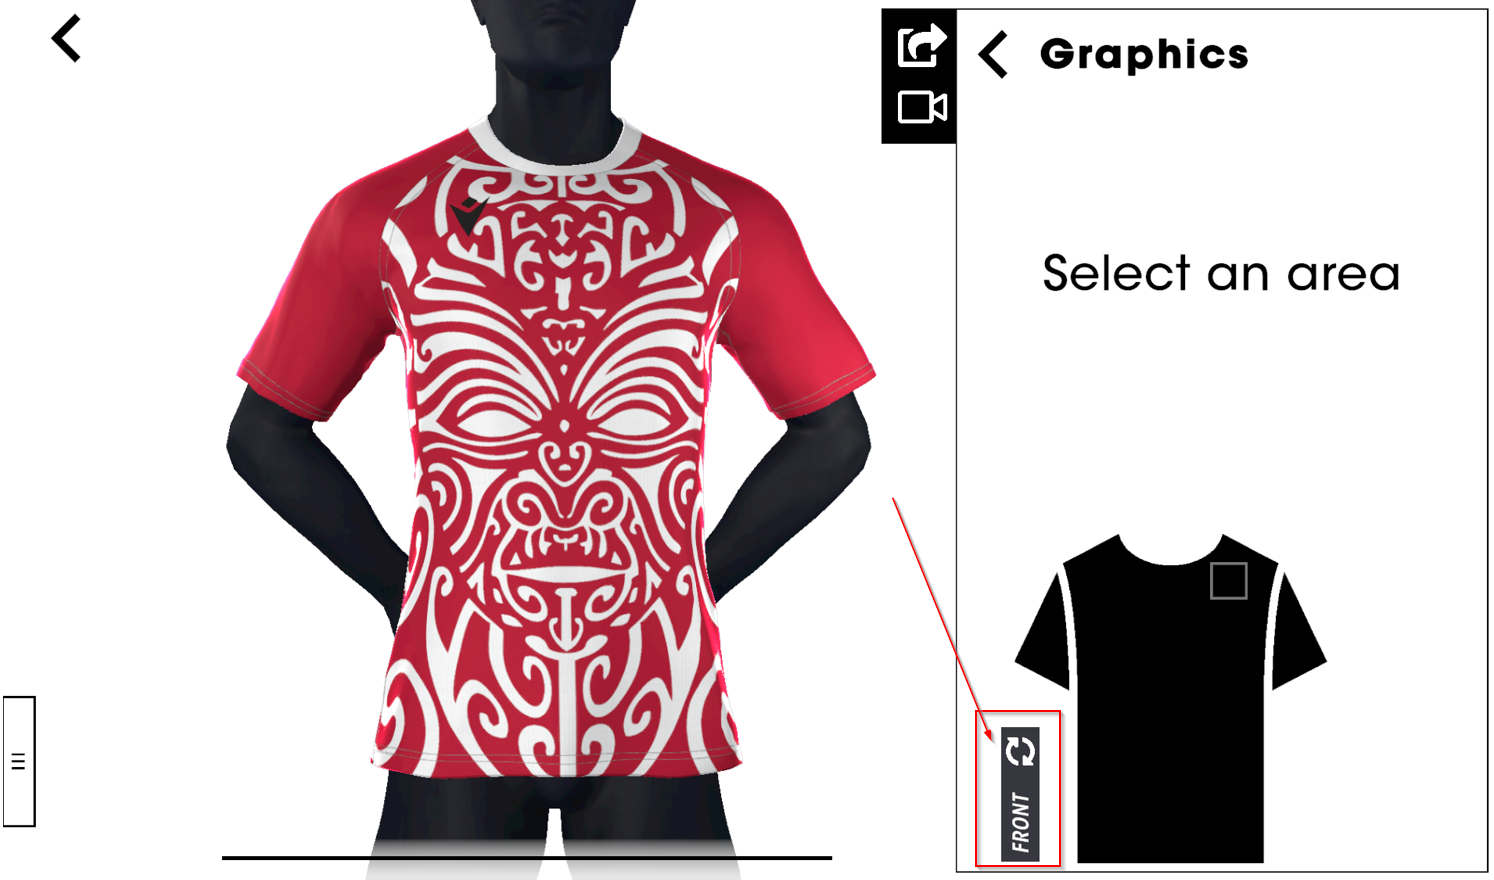
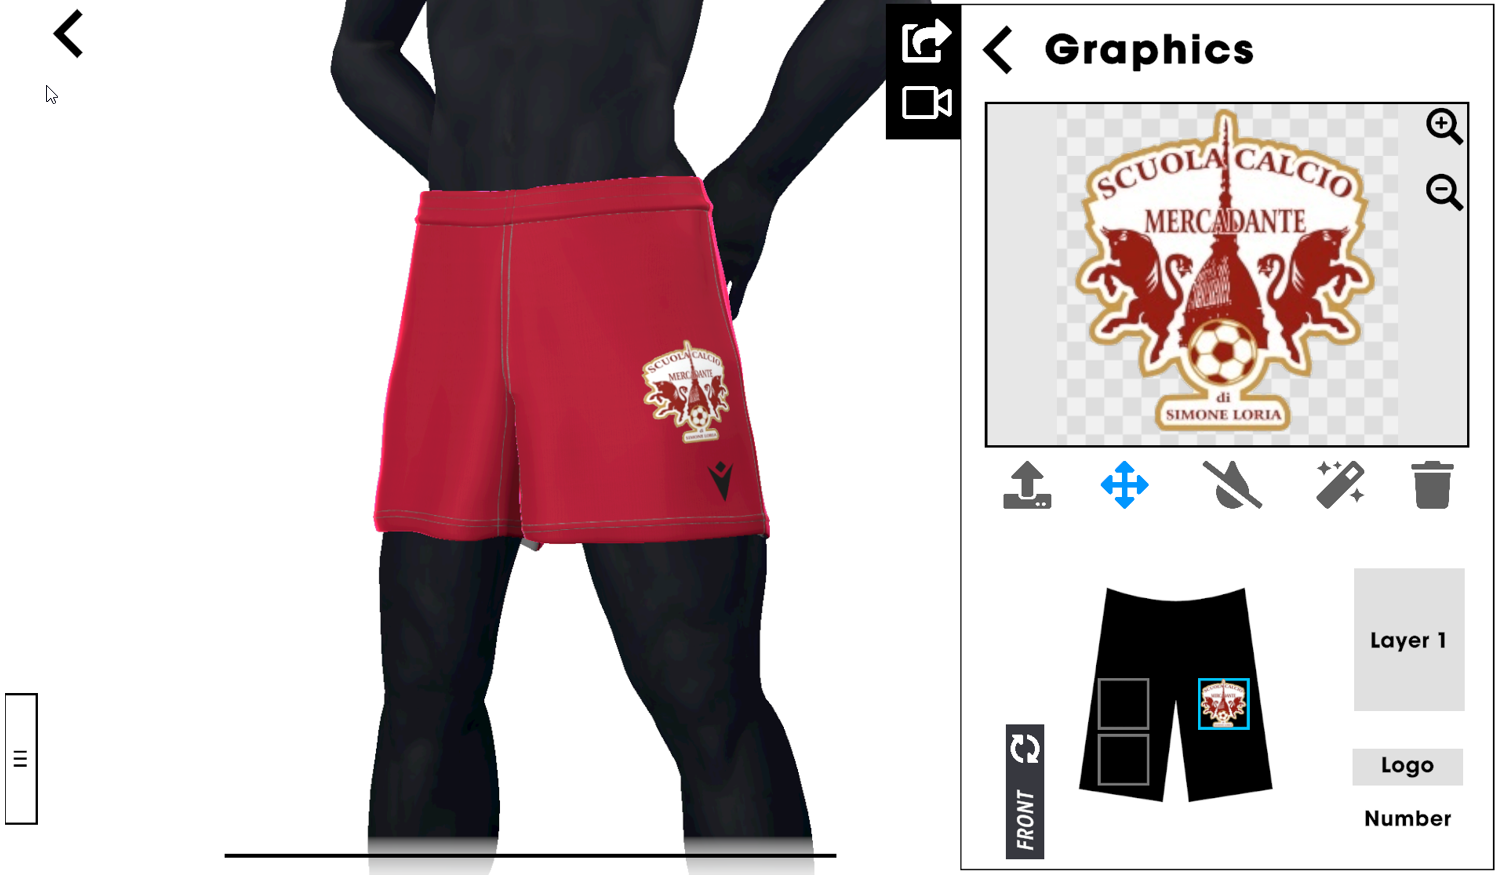
Choose the area to apply the logo, on the front of the item…
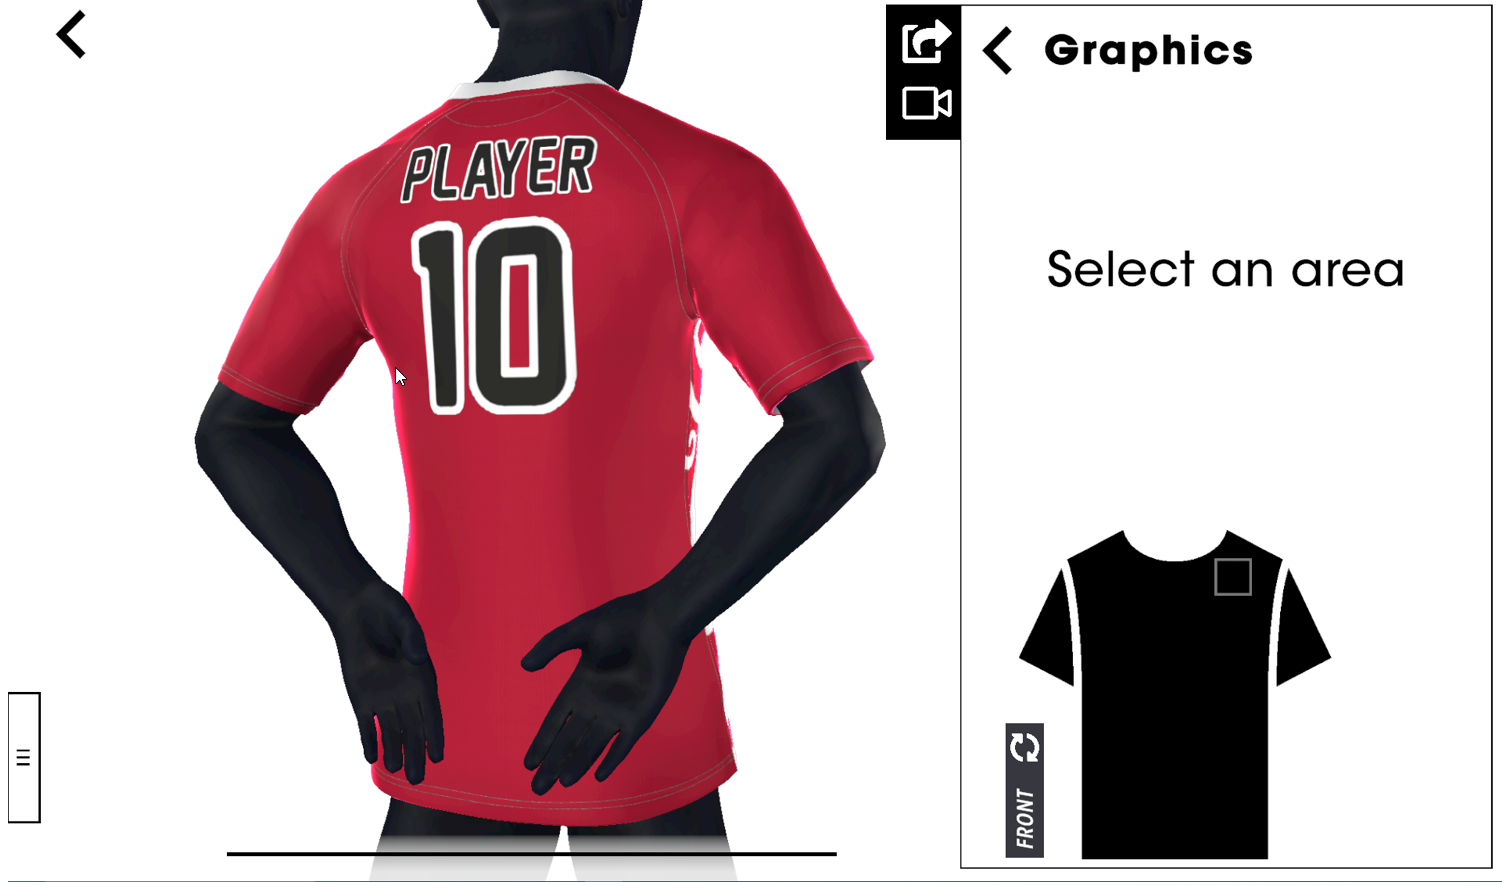
…or on the back
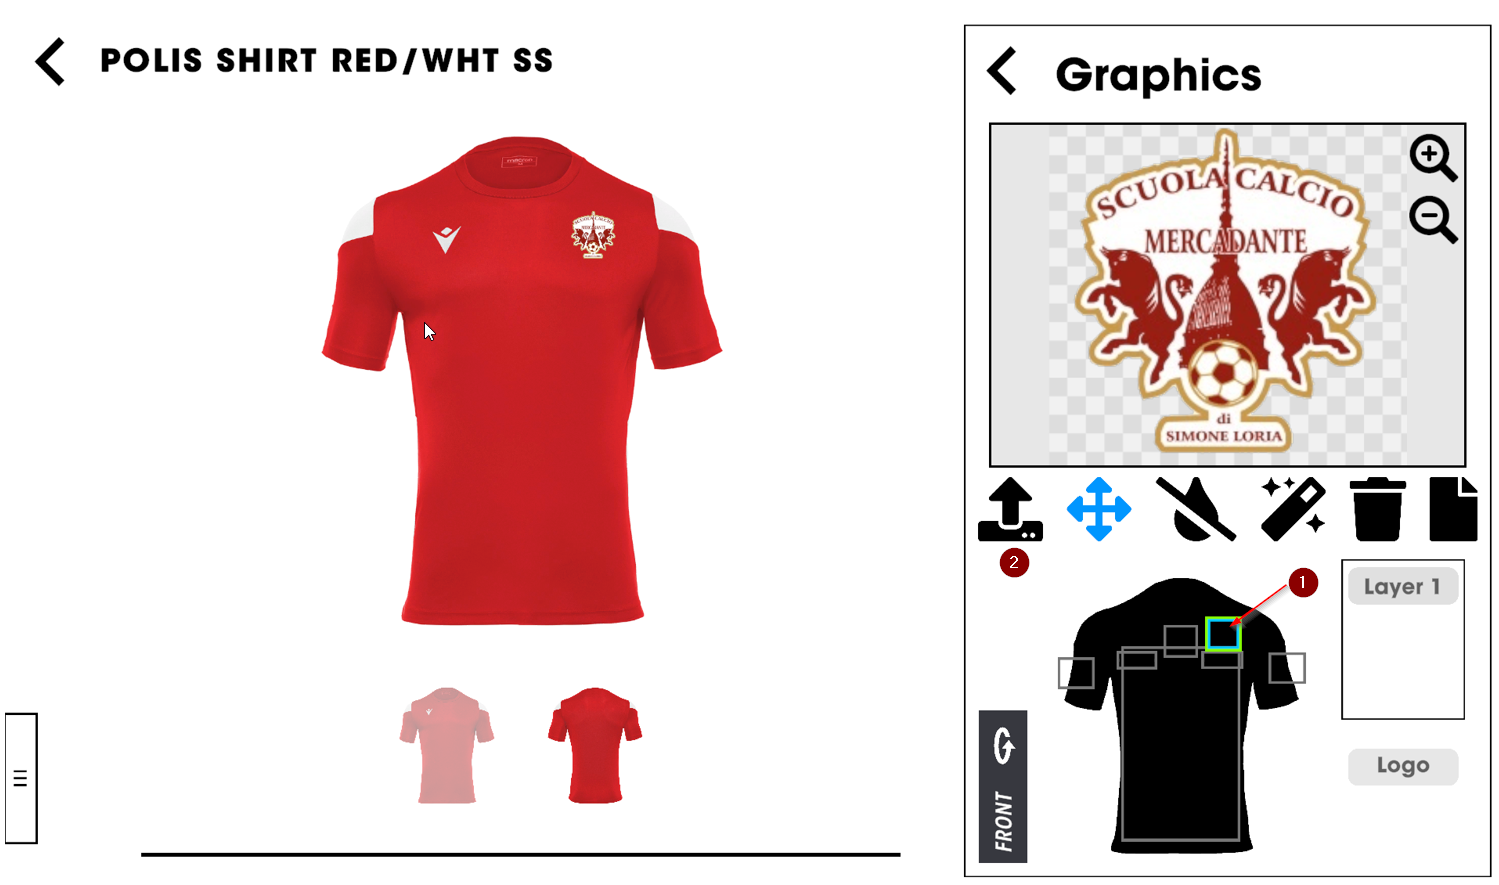
Based on the position you want to customise, you can choose either to upload a logo or to apply a name and/or number placeholder.
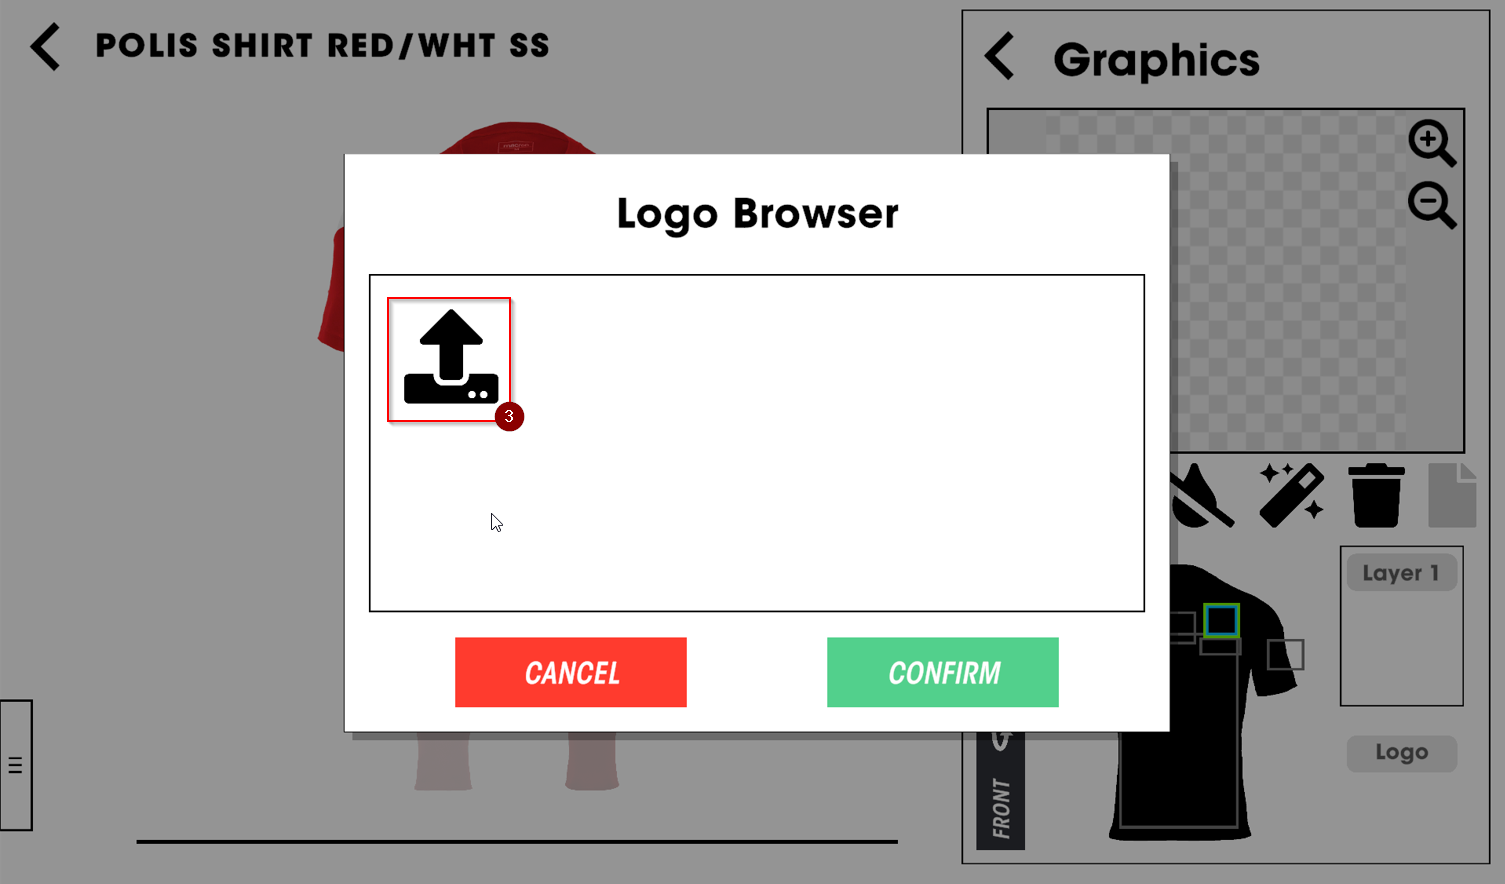
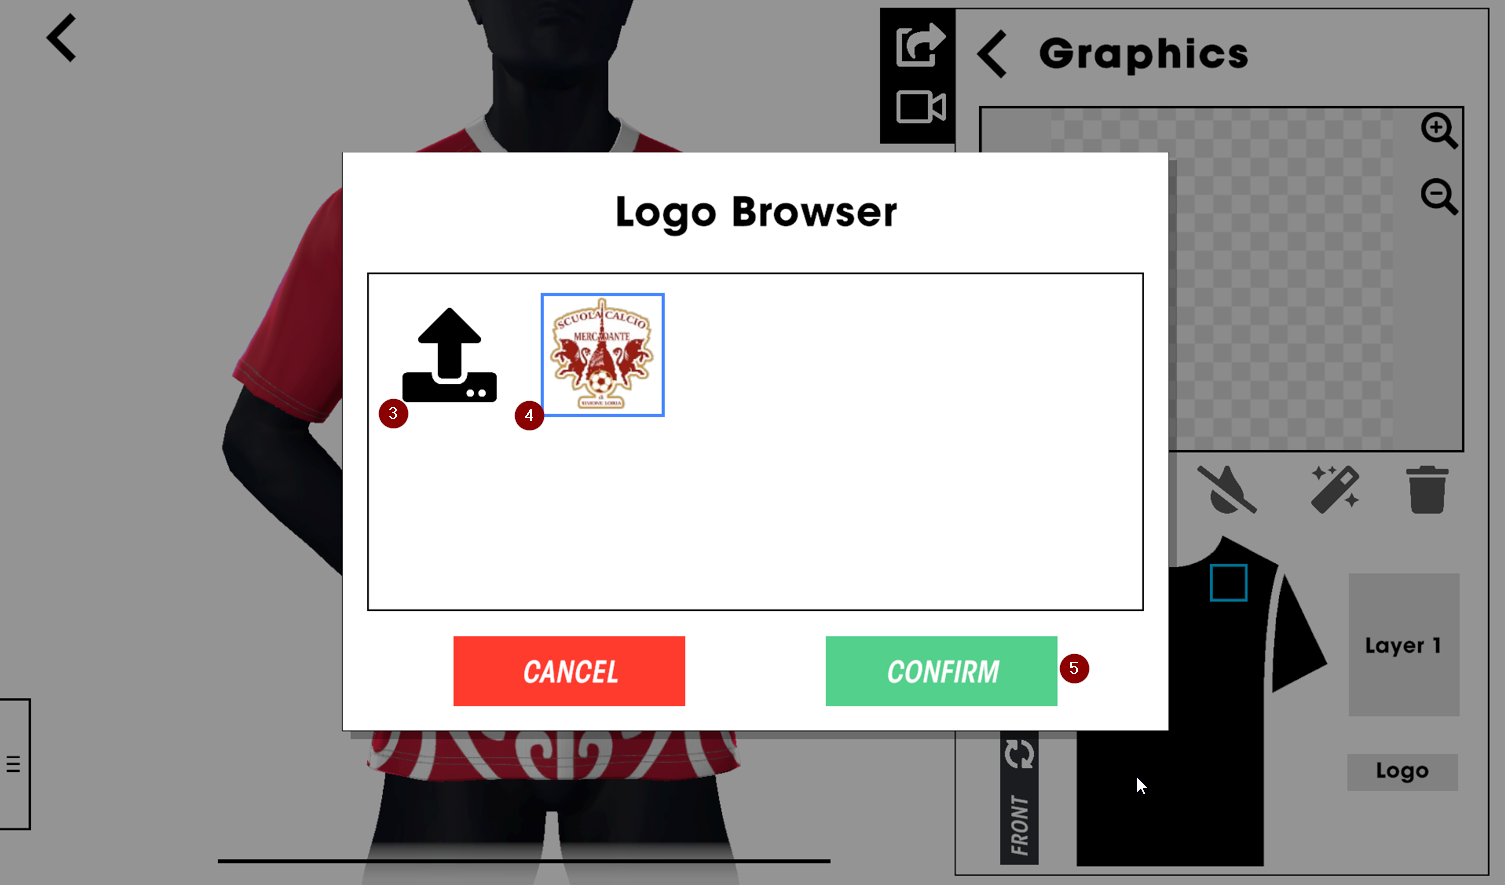
To apply a logo click on the upload icon and select an image to be uploaded
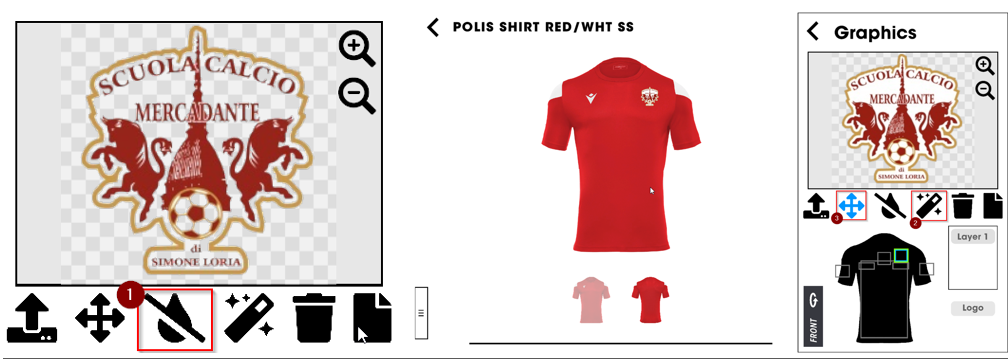
You can edit the image using some simple and useful image retouch tools:
The "Drop tool" (1) fully removes a selected colour from the image. It can be used to make a logo transparent, for example if you have an image with white background that you want to remove. Note that the more you “drag” the colour the more likely that similar colours will be affected as well.
The "Magic Wand" (2) tool removes the selected colour within an area and can be used to make certain areas transparent while retaining solid colours inside the image. Note that the more you “drag” the colour the more likely that similar colours will be affected as well.
The "Move/Resize" tool (3) allows the logo to be moved within the selected area. The tool also allows you to zoom in or zoom out the logo if needed.
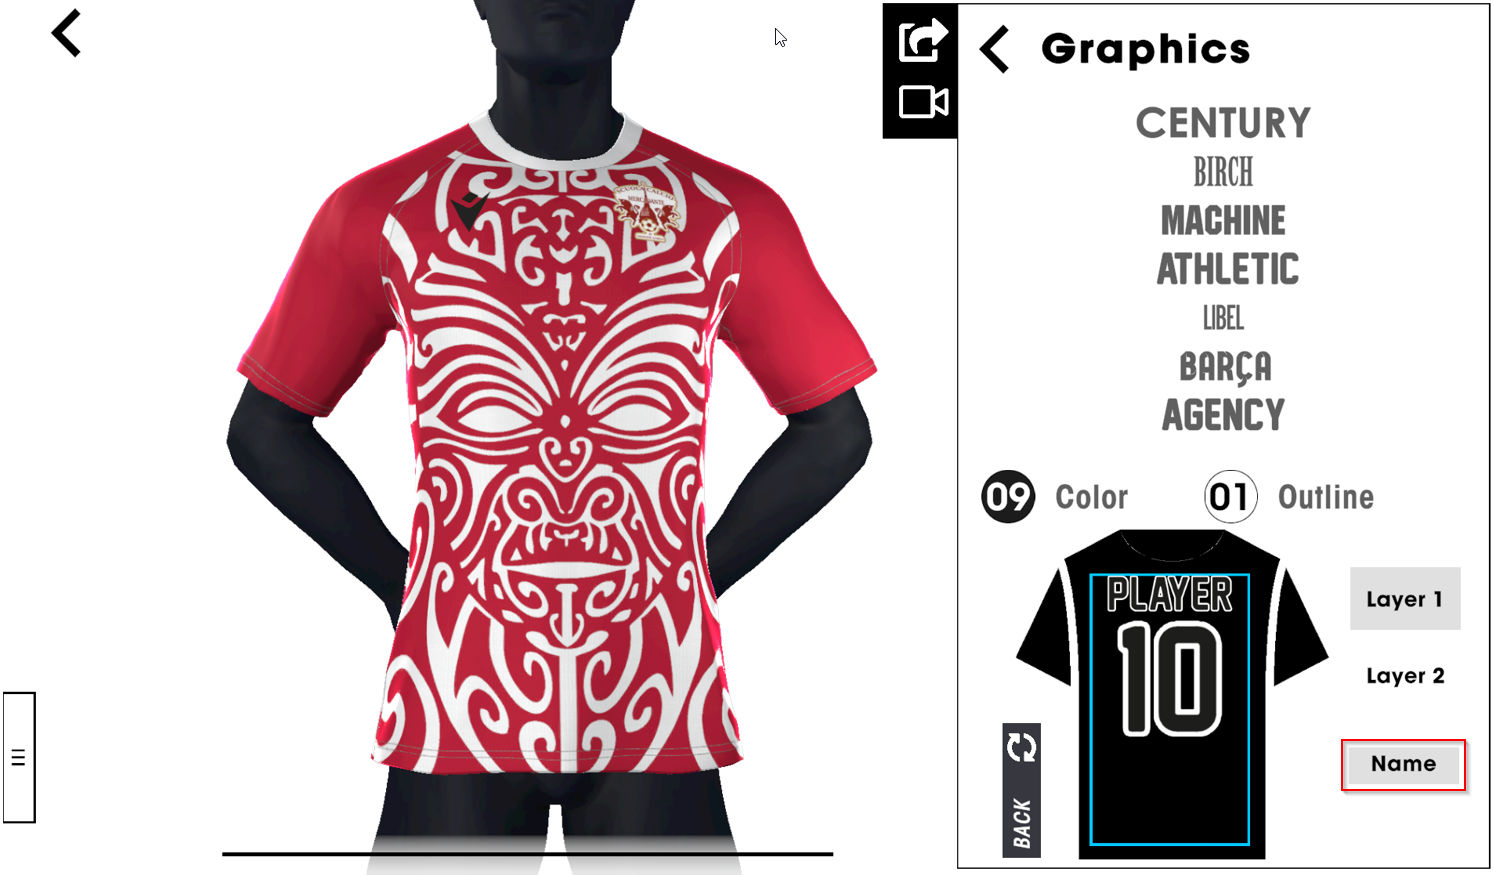
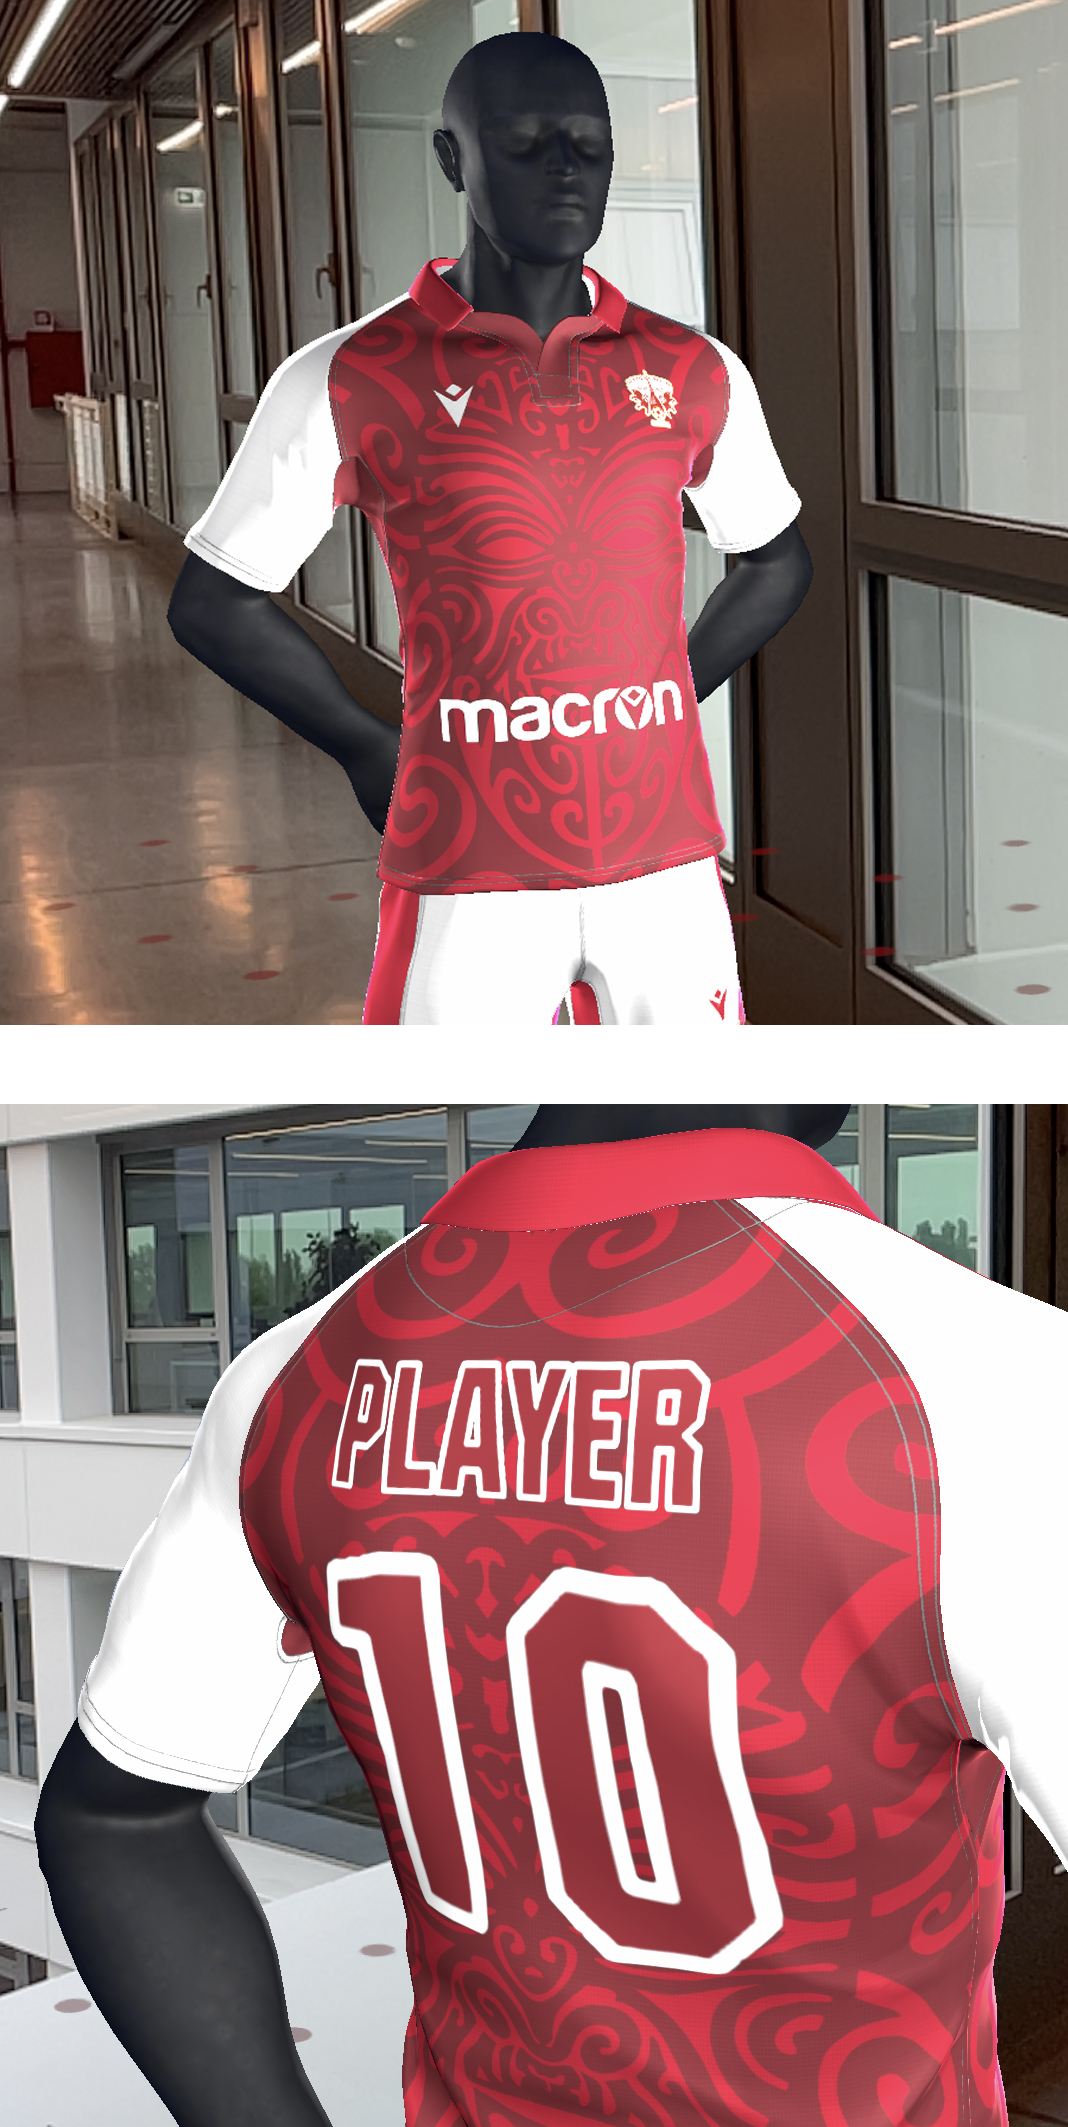
To apply name or number placeholders click on “Number” (or “Name”). You can customise the Font and Colours (fill and outline).
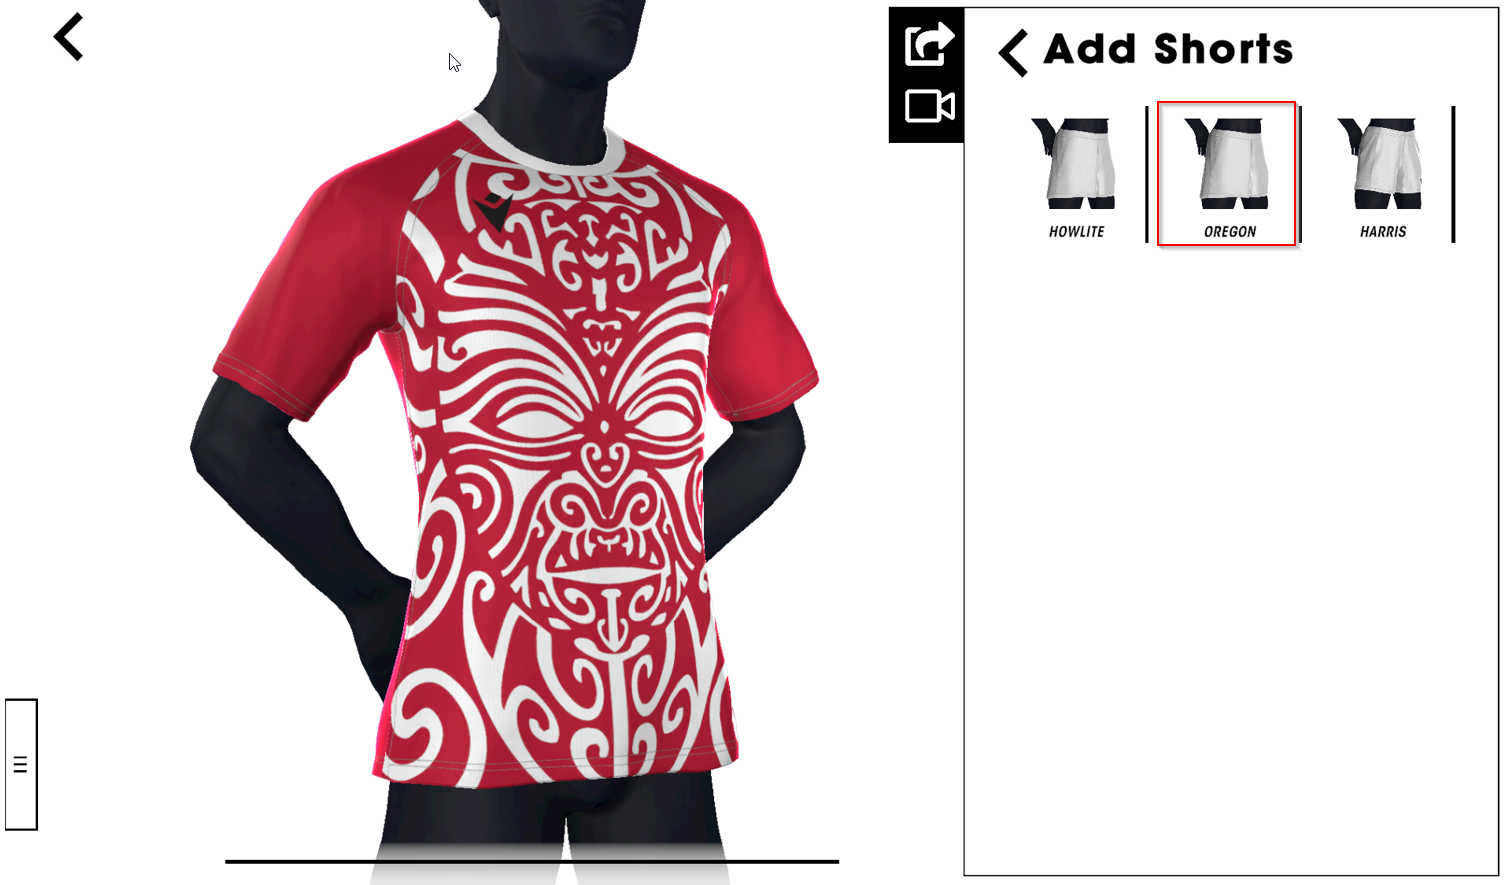
You can complete your kit by clicking on the shorts icon, bottom-right of the app.
Choose the shorts you want and customise them as well.
Finally, choose your sock preference and apply the template that best suits your kit to them.
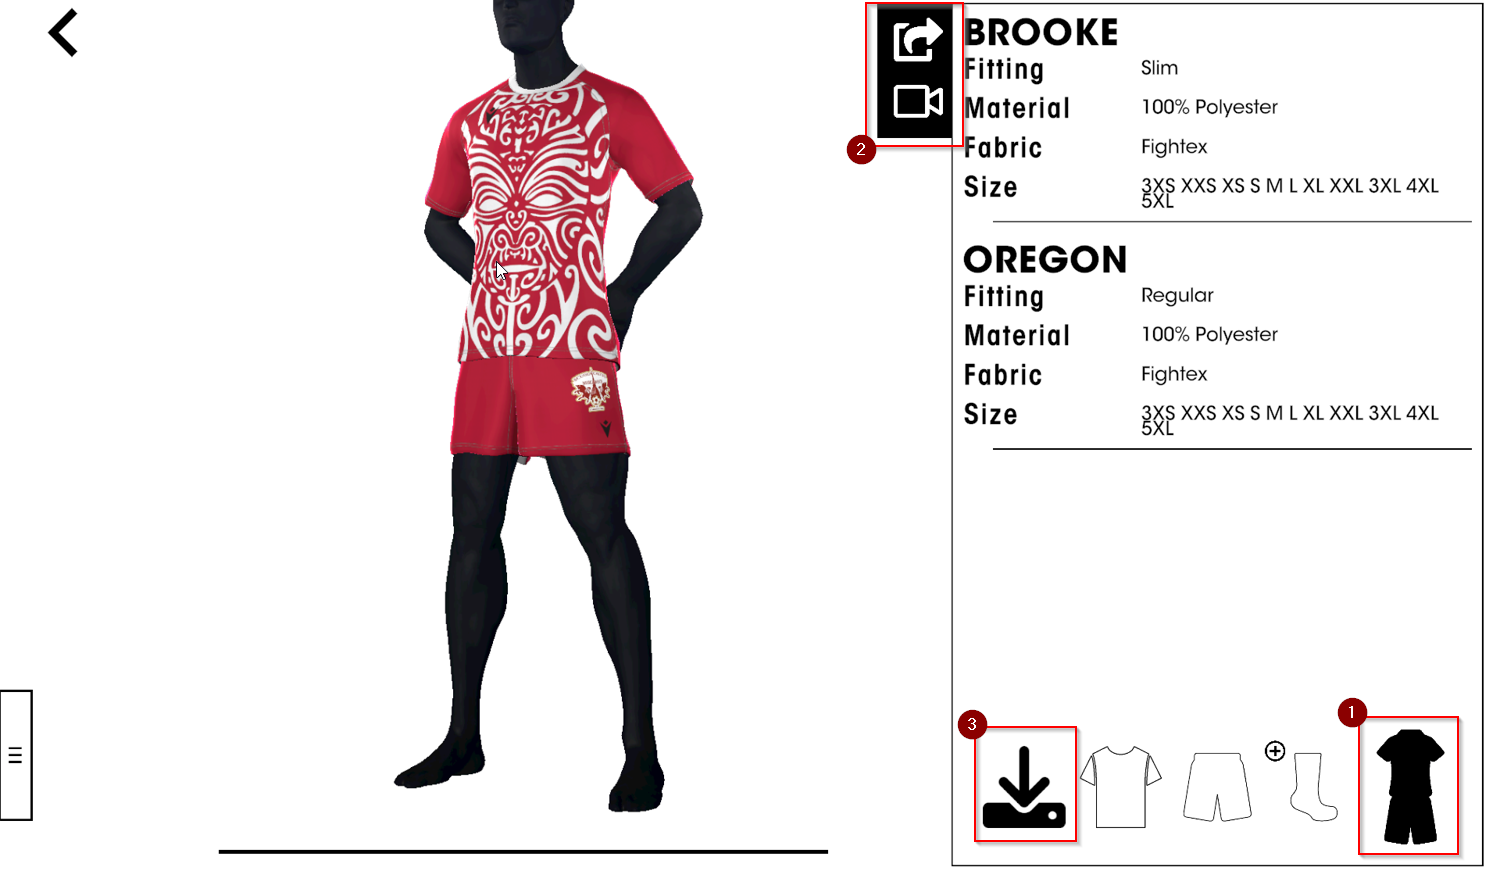
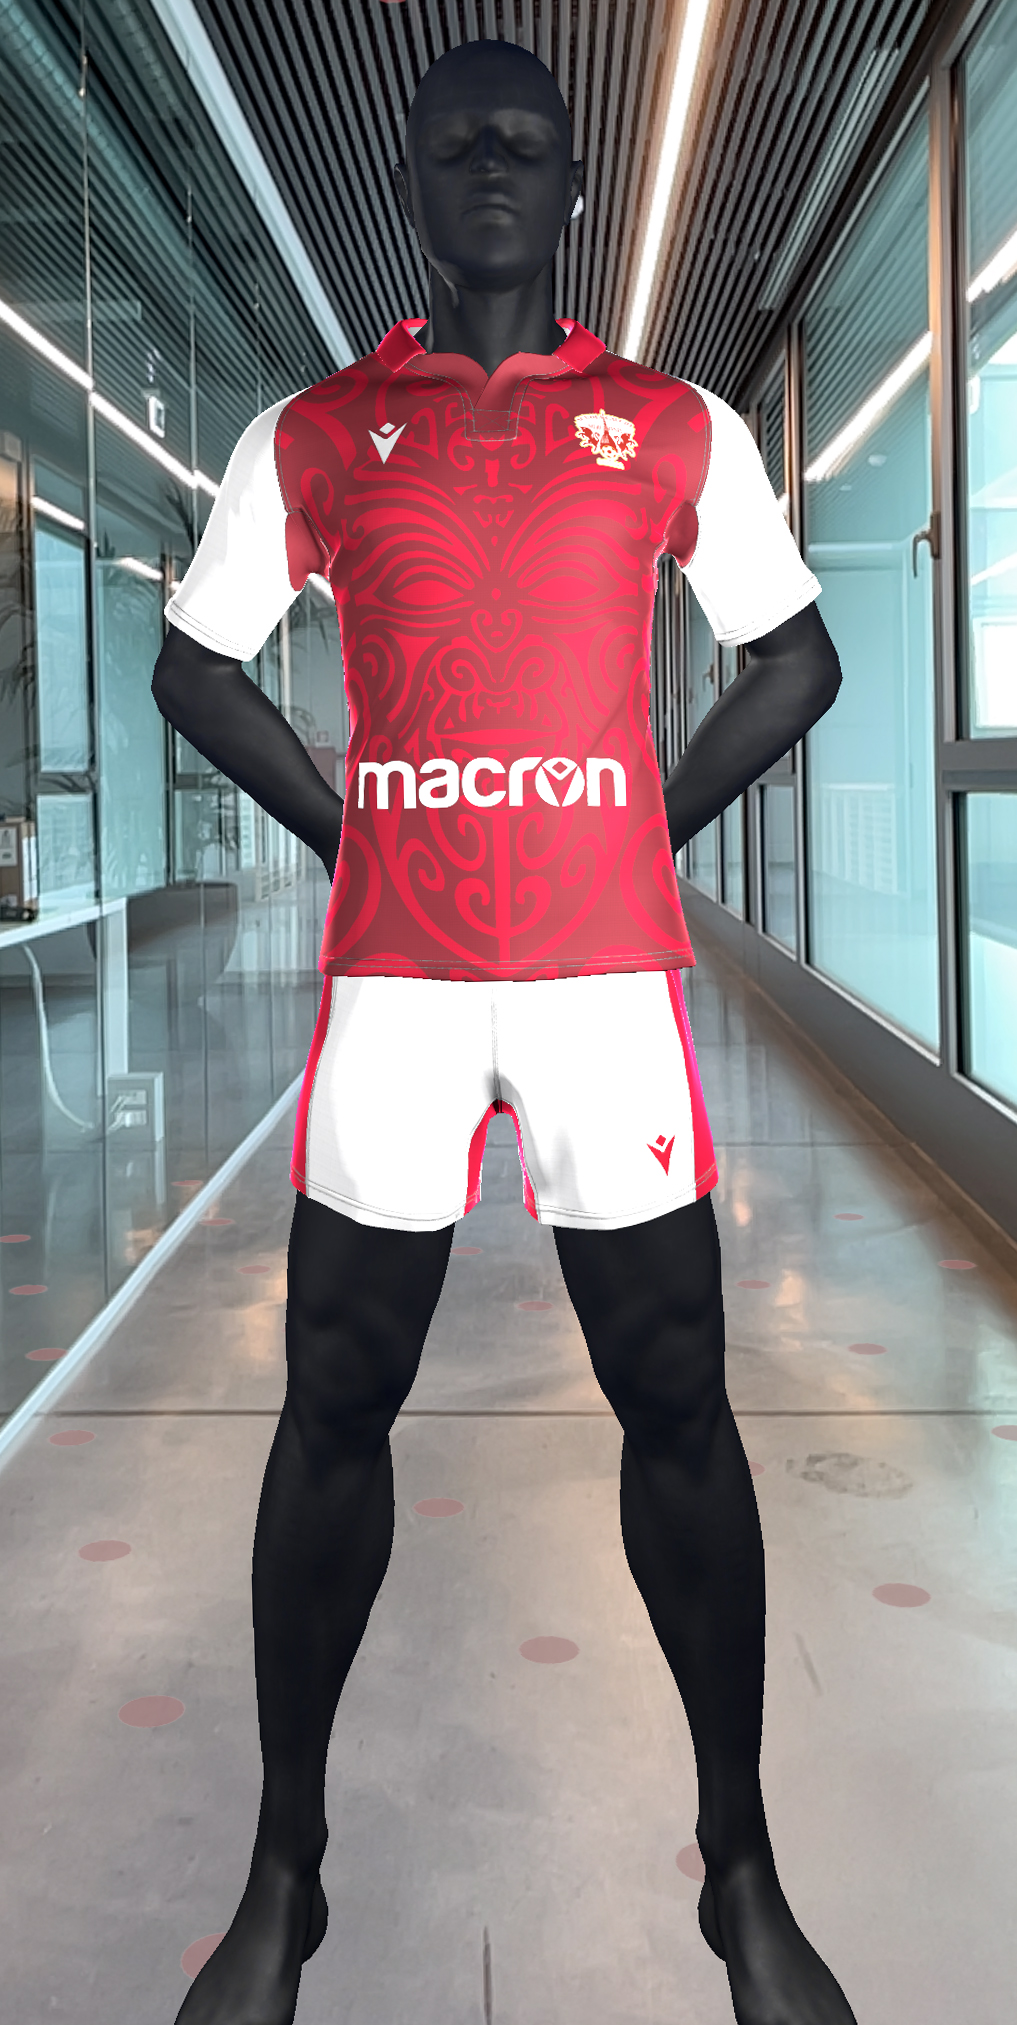
Once your kit is complete, you can see the full picture by clicking on the “kit icon” on the bottom of the area (1), generate a screenshot, short emotional video of your design (2) or use the augmented reality to see your creation to come to life * , and finally save your work (3).
* Augmented reality available only on iOS and Android devices
Saving and exporting your work
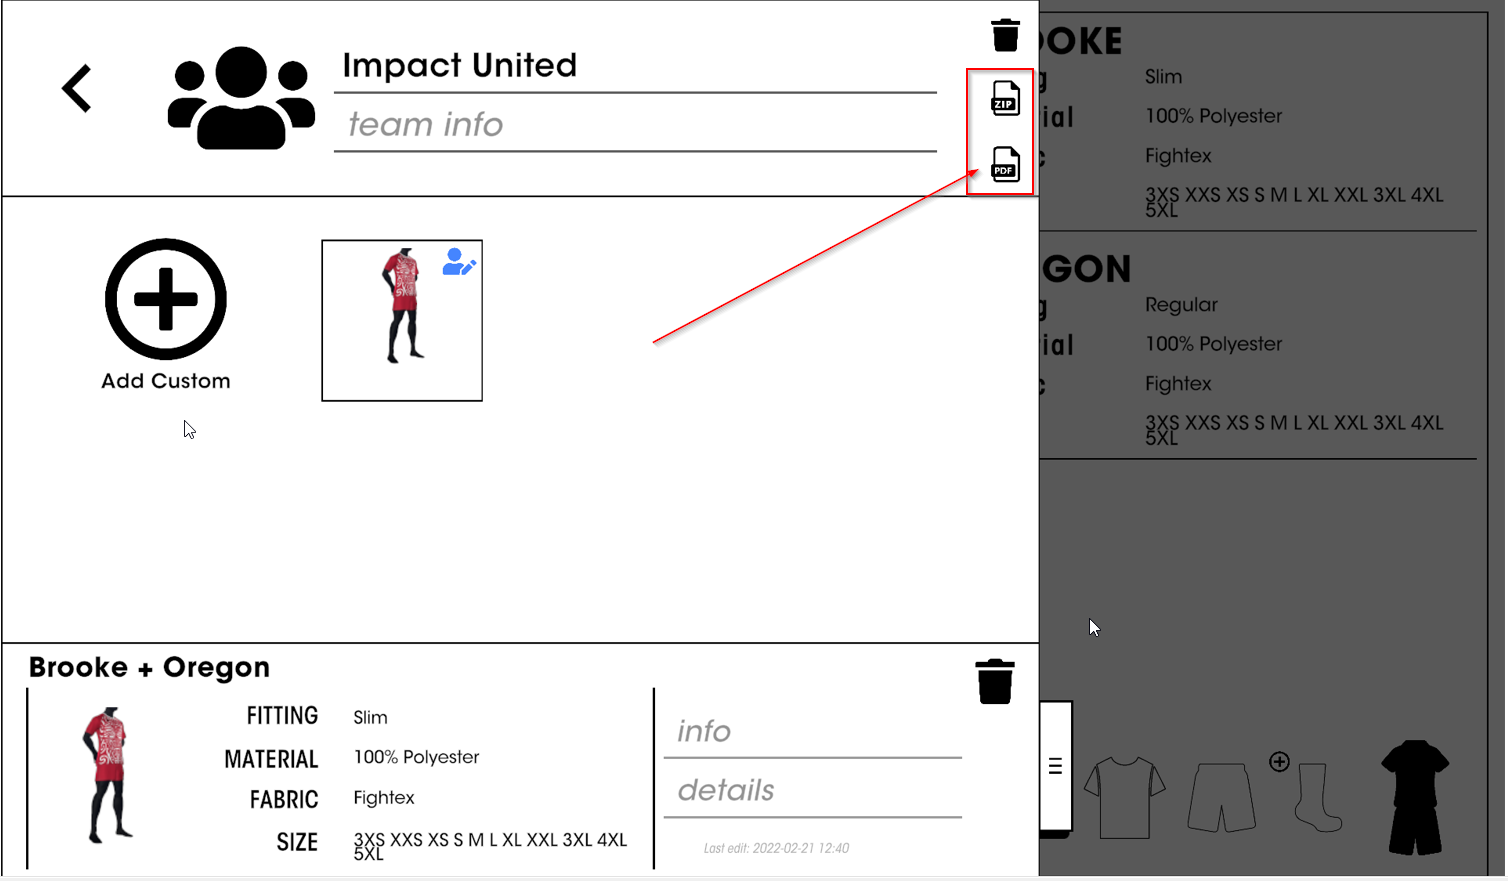
At any point, using the app you can save your work by clicking on the “File Icon” on the left, or the "Save Menu" button on the right
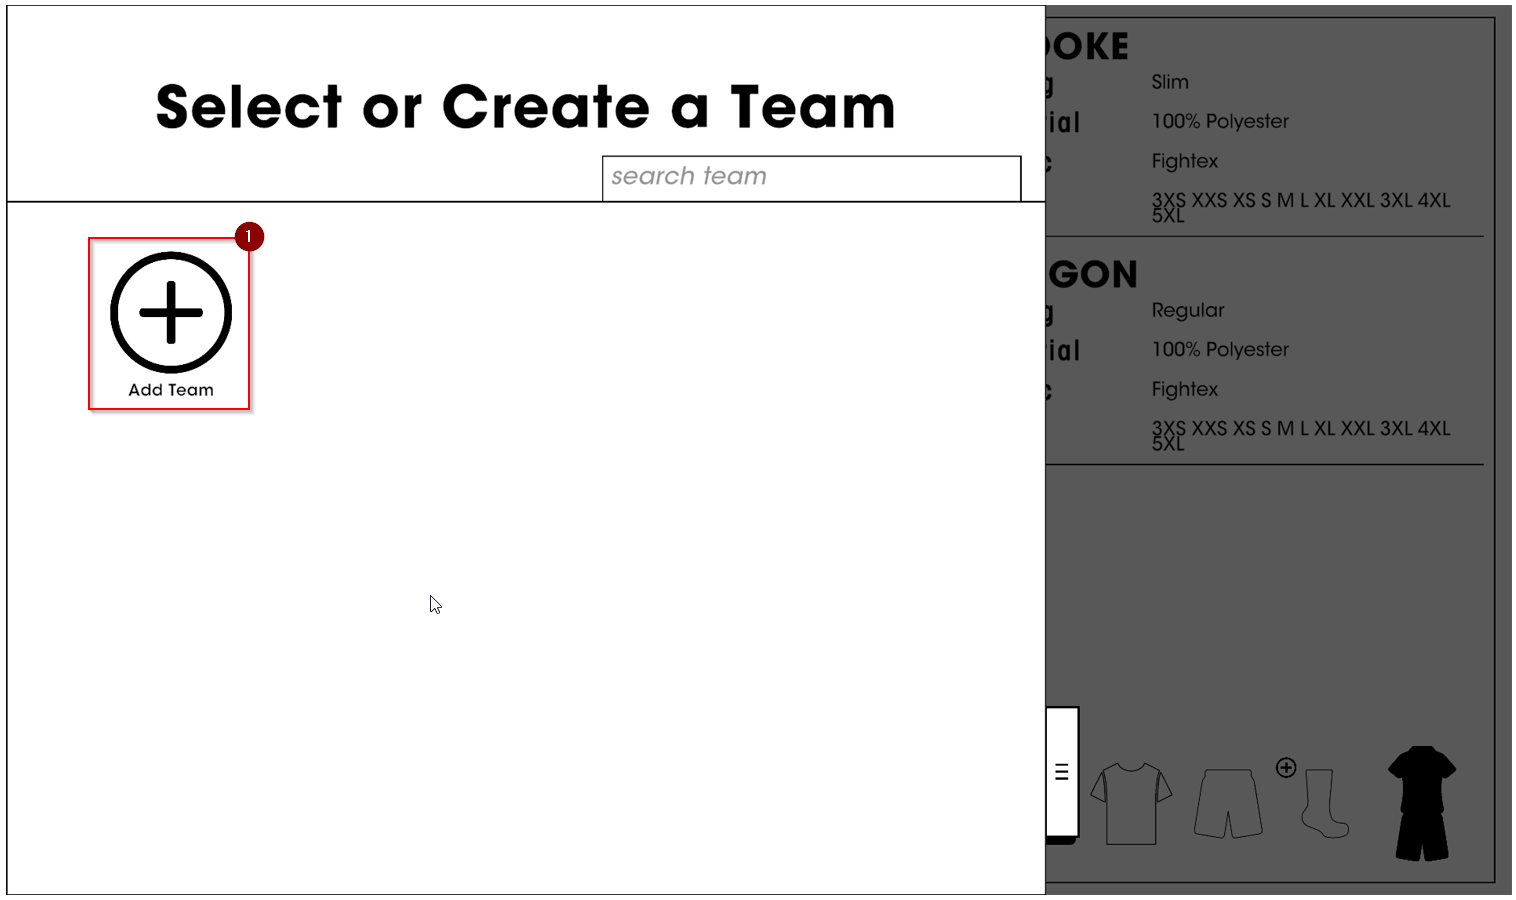
Click on the “add” icon (1) and choose a name (2) for your Team. Then click “on add icon” to save your kit (3): an icon with a preview of your kit will appear on the right. For each club you can save as many kits as you want.
Click on the ZIP icon to download the graphic material
If you want to export the images of the articles (personalized or not) present in your kit in zip format, click on the download icon at the bottom right (2). You can reuse the same images to set up your club shop or e-commerce
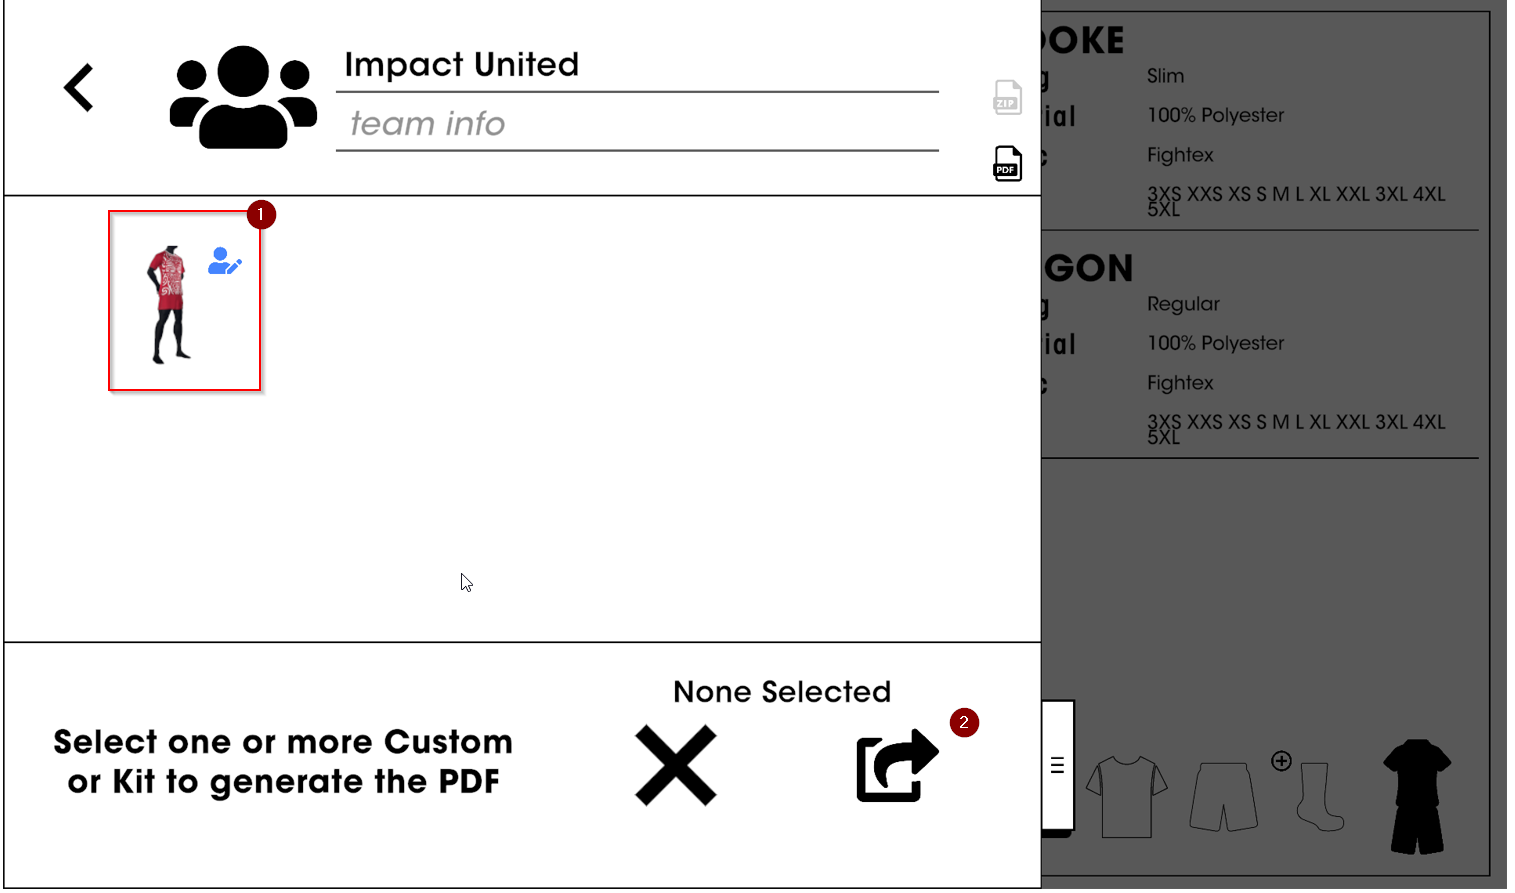
…select one or more kits (1) you want to export, and then click on “share it” icon on the bottom (2)
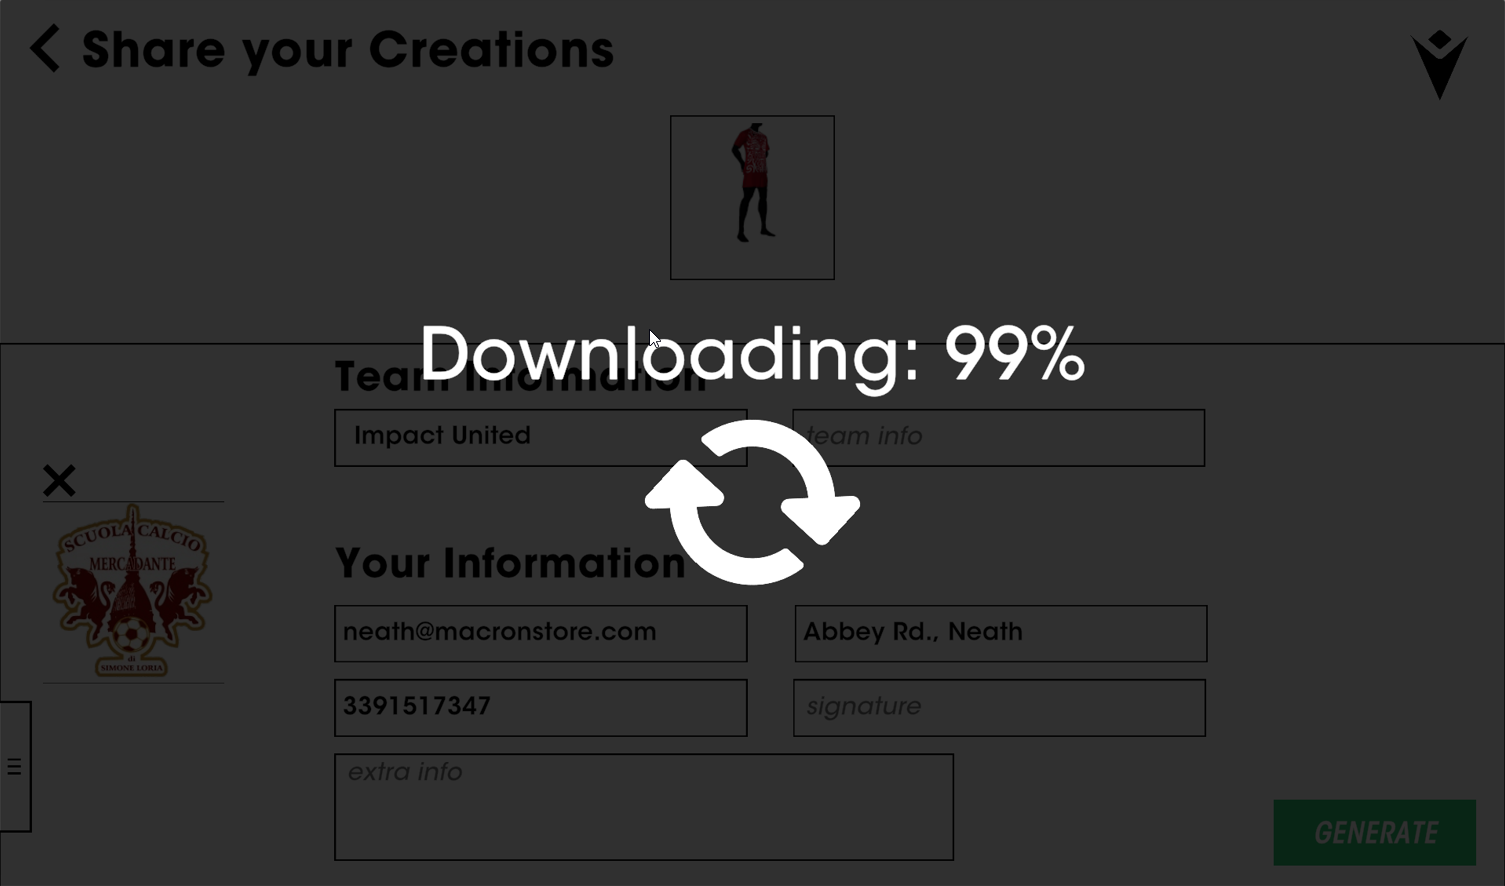
Fill in the form, add the club logo (3), then click the “share” icon (4)
Just wait few seconds and your PDF will be generated
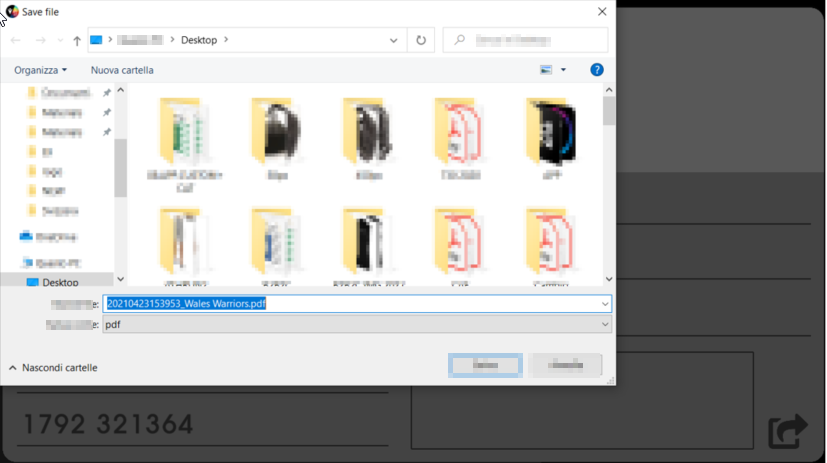
Choose the location where you want to save the file
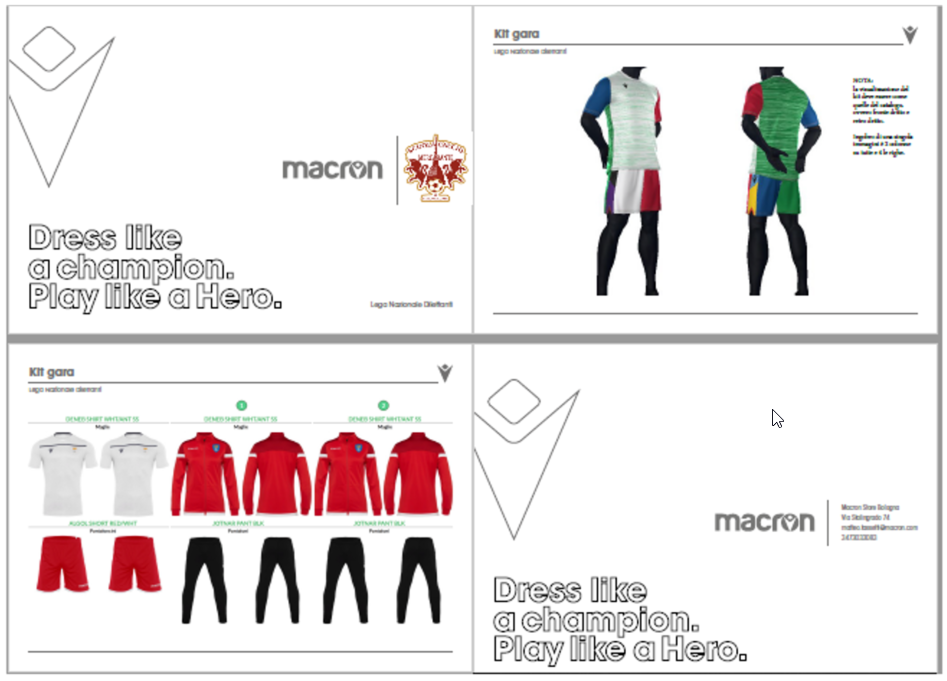
Enjoy your brochure!
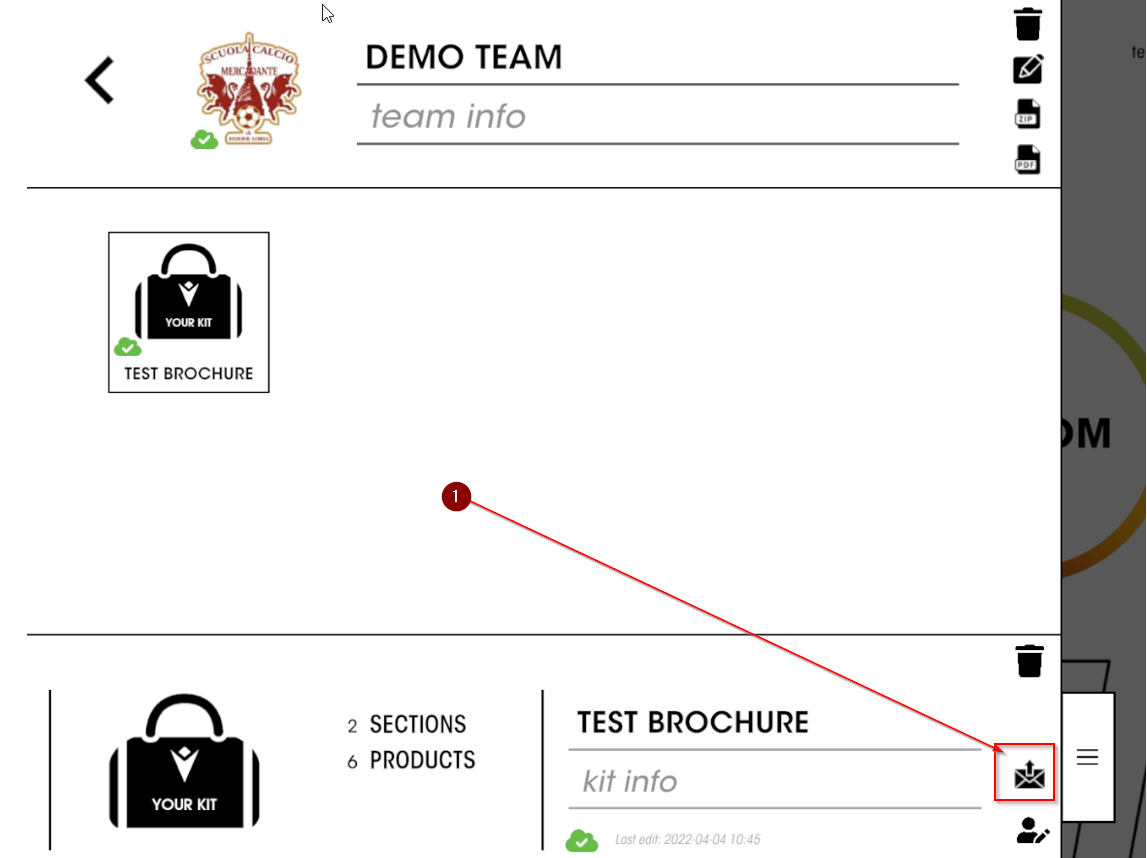
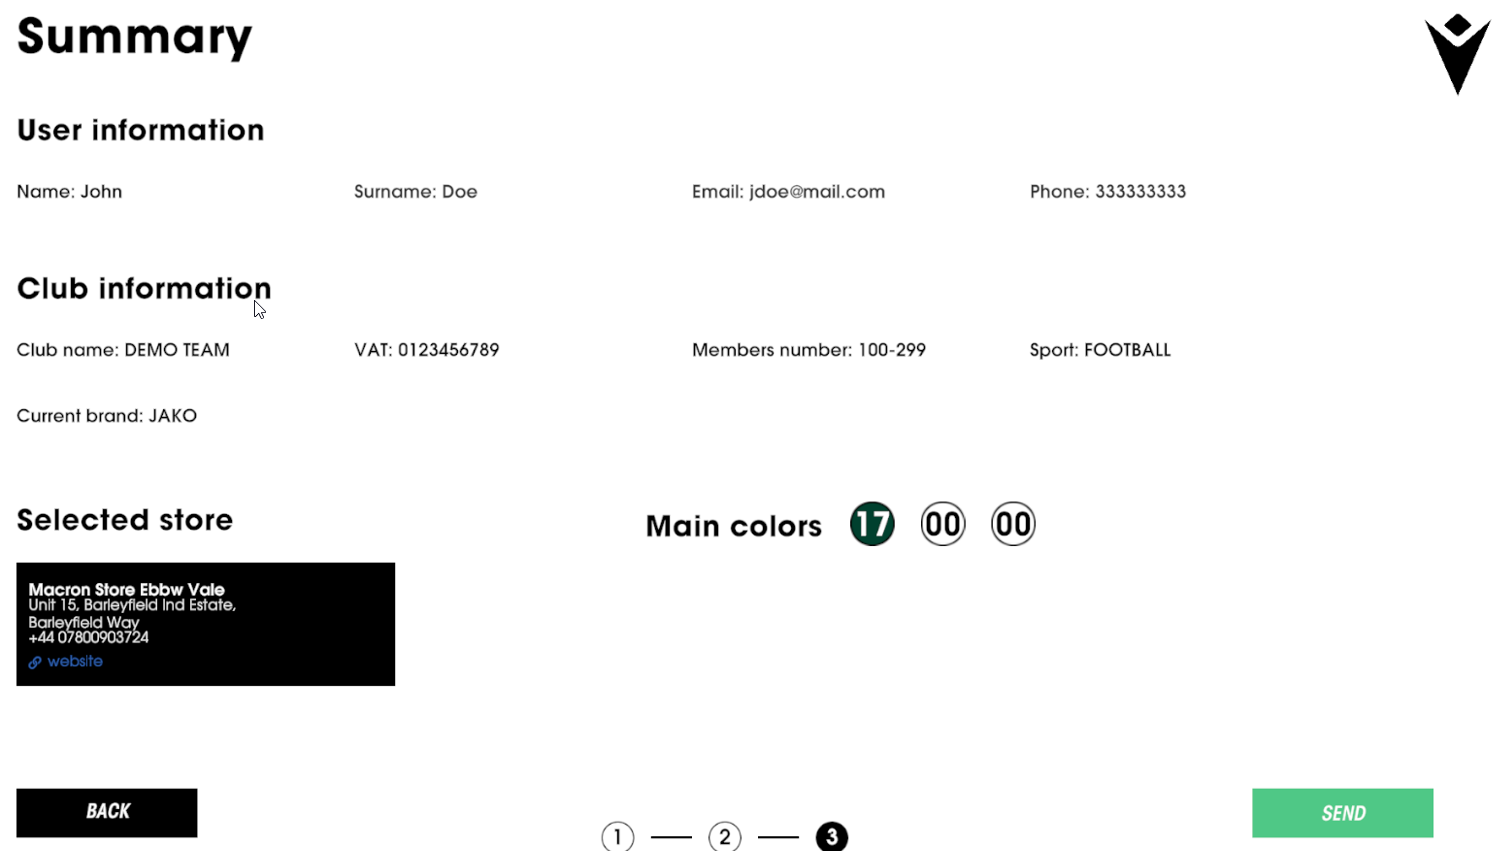
Send to Store
By clicking on the icon shown in the screen, you can send the newly created brochure to your trusted store.
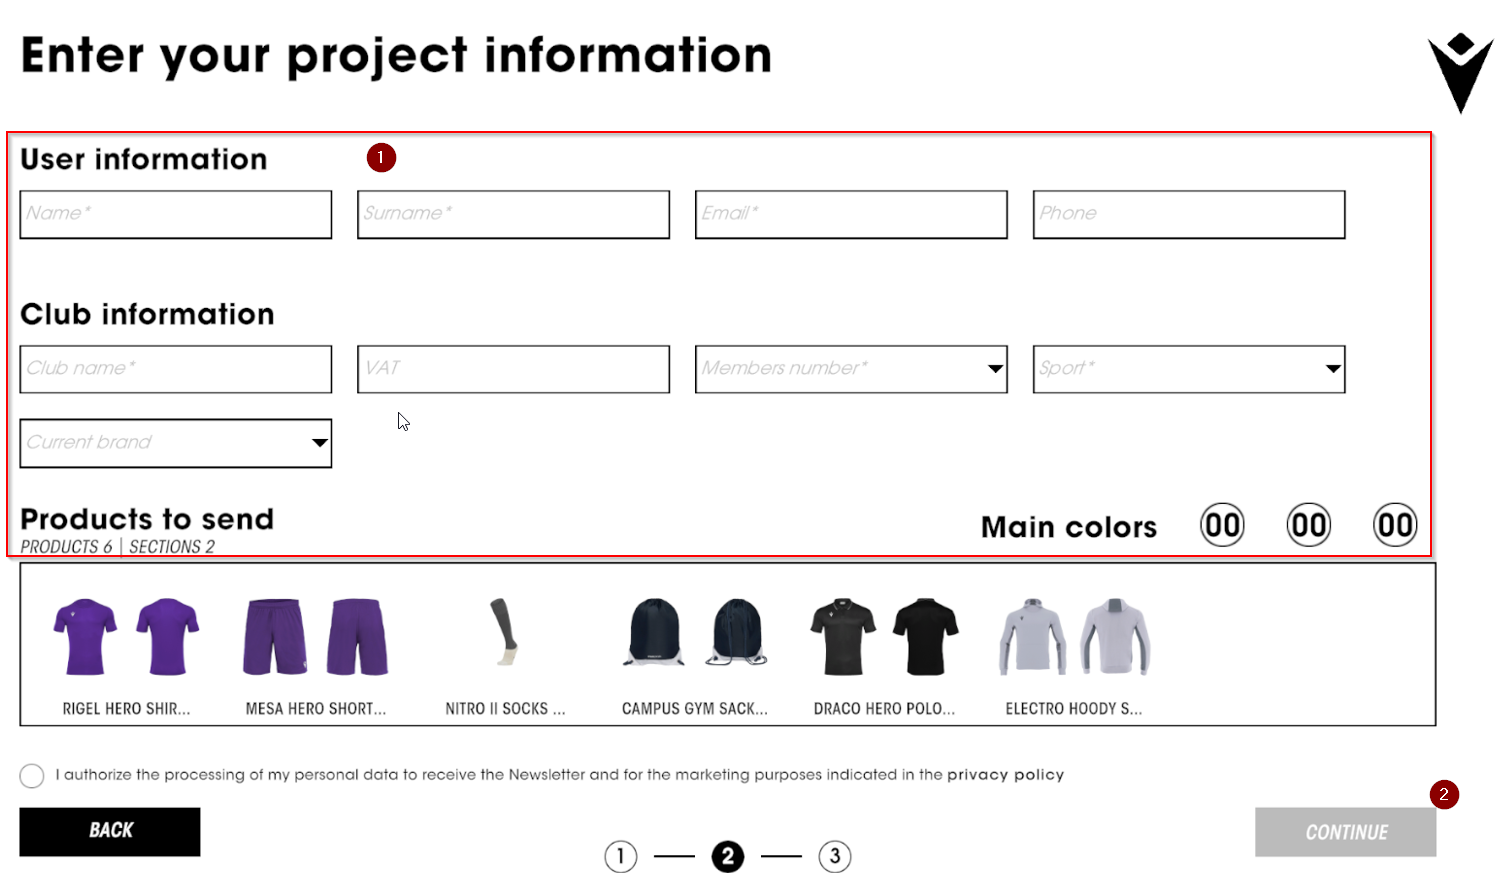
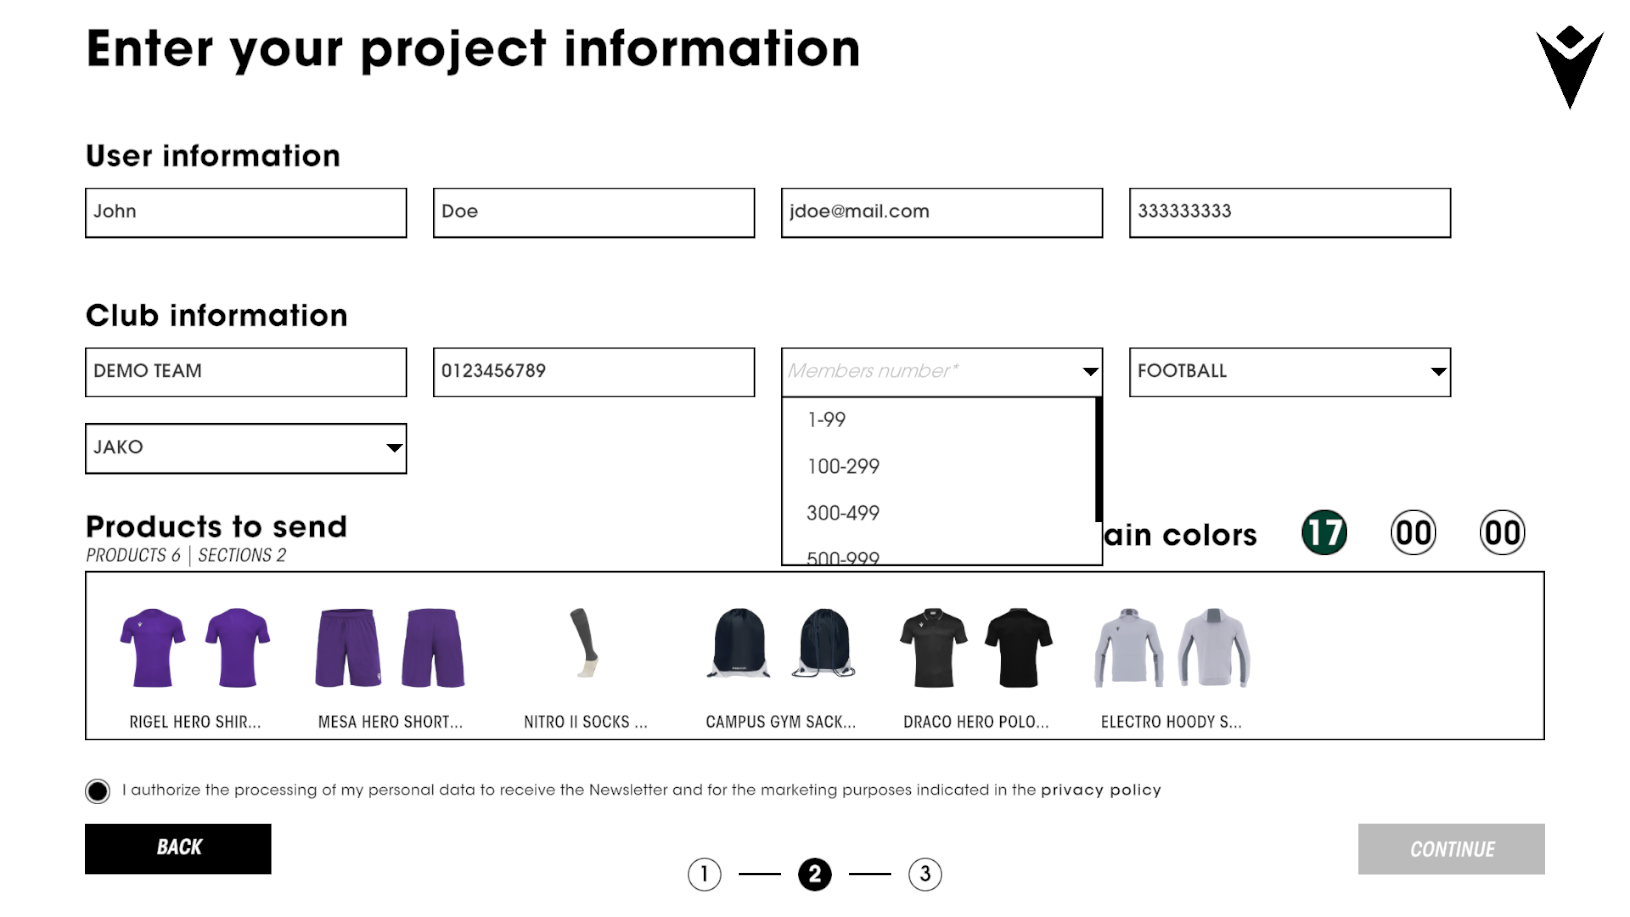
Fill in all the fields related to your club (1) then send the brochure to the store
GET AHEAD OF THE CROWD. Subscribe to our newsletter to:
10€ off on your first order when buying at least 50€
New product launches
Special contents created for you
Let's get to know each other betterPersonal information